Tag: After Effects
-
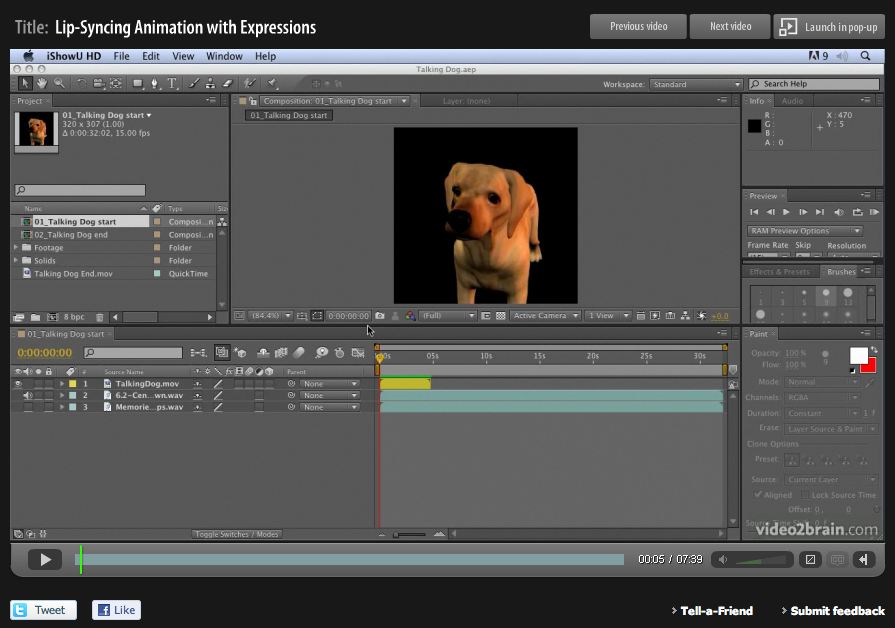
Lip Sync in After Effects
Lip-syncing is something that all animators will be asked to do at some point in their career. The following technique automates the process of lip sync in After Effects and uses only built-in features of Adobe After Effects – no extra software is required! This video tutorial is an updated version for Adobe CS5. Tutorial…
-
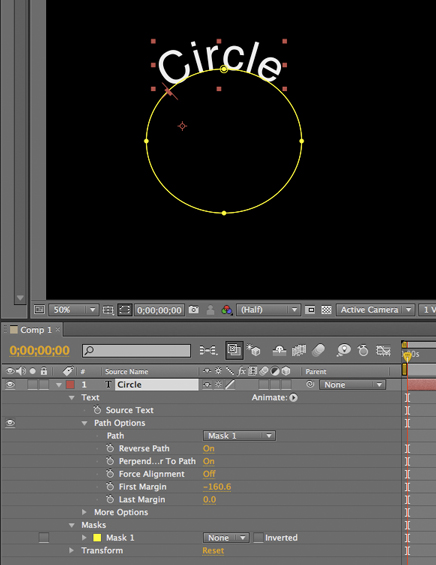
Tip: Wrapping text around a circle in After Effects
I saw a post on the After Effects mailing list today asking how to wrap text around a circle in After Effects. Here’s how it’s done; 1) Create a text layer with the text you want. 2) Select the layer and then, with the Ellipse tool, draw a circular Mask on the Text layer. 3)…
-
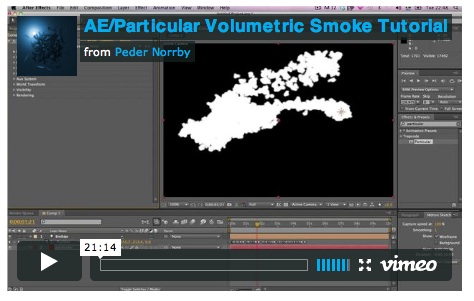
Trapcode Particular Free Tutorial
I’ve just watched a great After Effects tutorial, made by my good friend, the great Peder Norby of Trapcode fame. He’s dome a wonderful job of teaching you how to get the best volumetric smoke effects using Particular. I love this tutorial as it was totally improvised so it shows how he had to experiment…
-
Free tutorial – creating a 1960s retro opening title sequence
My dear friend and esteemed and talented After Effects aficionado, Aharon Rabinowitz has posted my 1960’s retro “Pop-art” tutorial up on Red Giant TV. I actually recorded it in the 1960’s but it’s taken this long for technology to catch up to a stage where it can broadcast a whole hour (almost) of FREE After…
-

Creative After Effects 7
This Creative After Effects book helps you to realize your creative potential with a working knowledge of After Effects 7. Renowned artist and designer Angie Taylor demonstrates professional workflows and inspires with practical tutorial lessons that help put the theory (and you!) to work.
-

Creative After Effects 7 Reviews
“Of all the After Effects books I looked at whilst trying to learn it, I found Angie’s was the most user friendly and creative.” Chris Cunningham, Director of music videos, commercials and video art.
-
Creative Video Workflow
I’m busy preparing to leave on a mammoth journey to San Fransisco to speak at the Macworld 2010 conference for the first time. I’ll be talking about production workflow, specifically broadcast production as that’s where I spent 12 years of my life freelancing as a motion graphic designer/ animator. I’ll also share some of the…
-
Thoughts
OK, it’s been a while since I posted a blog, I’ve been really busy trying to reinvent myself again! The last year has been an odd one. I decided to take a few months off from doing international events after IBC 2007, due to sheer exhaustion. But just as I was ready to return, Adobe…