Tag: animation
-
Creating a Cityscape in 3D
I want to share an example of one of my tutorials that I’m very proud to say inspired a great piece of work, “Black Day to Freedom” by the amazing Rob Chiu. I met Rob after watching a very inspiring talk he gave at the Flash on the Beach conference a few years back. I…
-
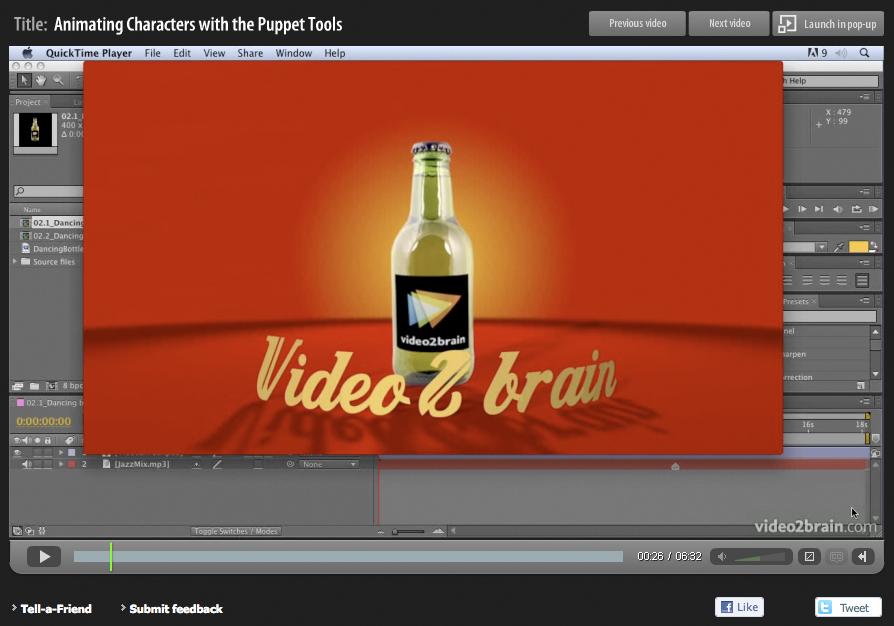
A free tutorial gift for the holidays
Well, another year comes to an end and the holidays are about to begin. What better way to spend your time off than sitting back comfortably and allowing me to entertain you with some of my latest After Effects CS5 tutorials? Here’s a free tutorial movie for you, taken from the “Jumpstarts” section of the…
-
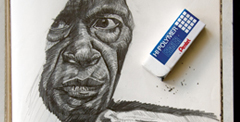
Is drawing important for designers?
Things that may not occur to you by just simply looking at an object. you need to truly understand these things to make your drawings work. Even if you don’t like your finished drawings, that really doesn’t matter, it’s the process of losing yourself in the craft of drawing that matters.
-

Adobe After Effects Training DVD and book
Well, it’s all happening this week! My new book, “Design Essentials for the Motion Media Artist” finally went on sale. As well as the book, I also have a new training DVD on the way which I worked on with the amazing Todd Kopriva from Adobe. As a little taster of what’s to come is…
-
Digital Arts Online Tutorials
Free tutorials, created for Digital Arts magazine Master Particles in Adobe After Effects Shatter and Card Dance are two of After Effects CS4’s most underrated particle effects. Both were created by Brain Maffitt’s Atomic Power Corporation, before being bought by Adobe to include in After Effects. Both Card Dance and Shatter allow you to divide…
-
Thoughts
OK, it’s been a while since I posted a blog, I’ve been really busy trying to reinvent myself again! The last year has been an odd one. I decided to take a few months off from doing international events after IBC 2007, due to sheer exhaustion. But just as I was ready to return, Adobe…