Tag: Adobe After Effects
-
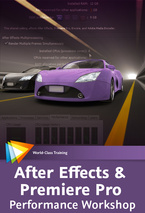
Free After Effects & Premiere Pro Performance Workshop
I’m excited to be able to offer a free top-up course on my website to all my lovely visitors. In this free course, Adobe Technical Support Lead Todd Kopriva offers dozens of tips for optimizing Premiere Pro, After Effects, your operating system, your computer, and your workflow for maximum speed and performance. He makes recommendations…
-
Understanding Axis Modes
After Effects can be a difficult application to learn simply because it offers you so may options. Many of these options are not immediately apparent to users so they muddle through using default settings when a better solution may be available to them. My job is to point you in the direction of these hidden…
-
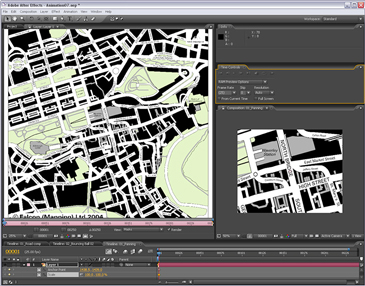
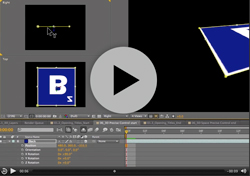
Animating a line drawn on a map – Indiana Jones Style
I contribute to the Creative Cow Basic After Effects forum (amongst others) where this question was posted recently; “Hi I am newish to after effects and I have created a old map effect that pans from the UK to africa now I want to add a red line that reveals like in the Indiana Jones…
-
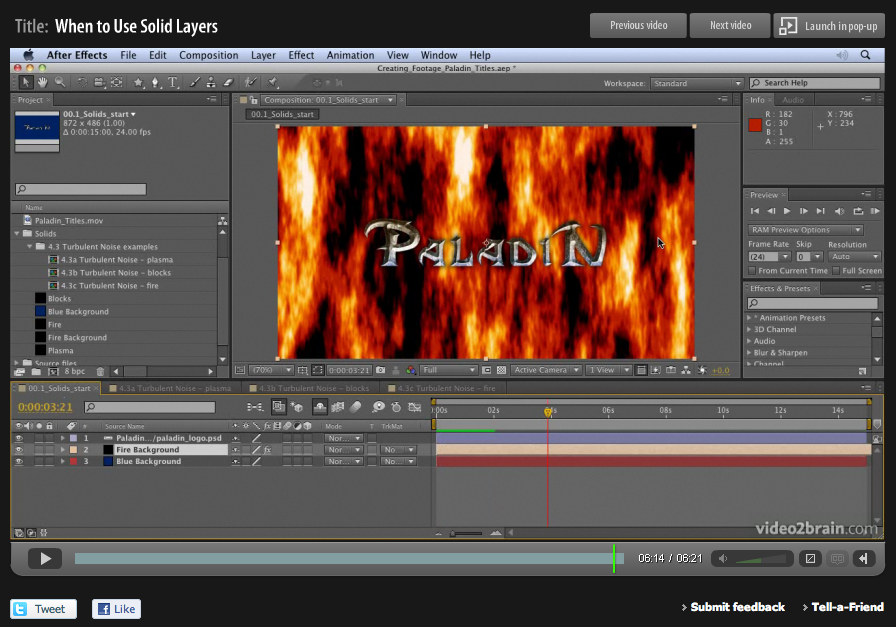
Basics on Solids in Adobe After Effects
When designing motion graphics in Adobe After Effects there are times you just need to create a plain old layer to apply effects to. Solids are just right for this purpose, and for lots of other uses in After Effects. This video is aimed at a basic level. It shows you how to create solid-color layers…
-
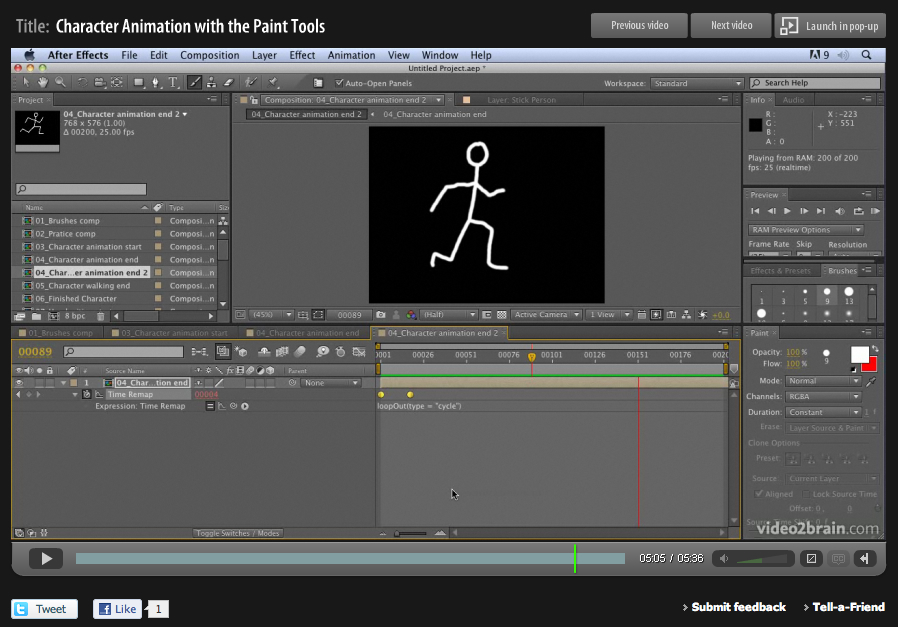
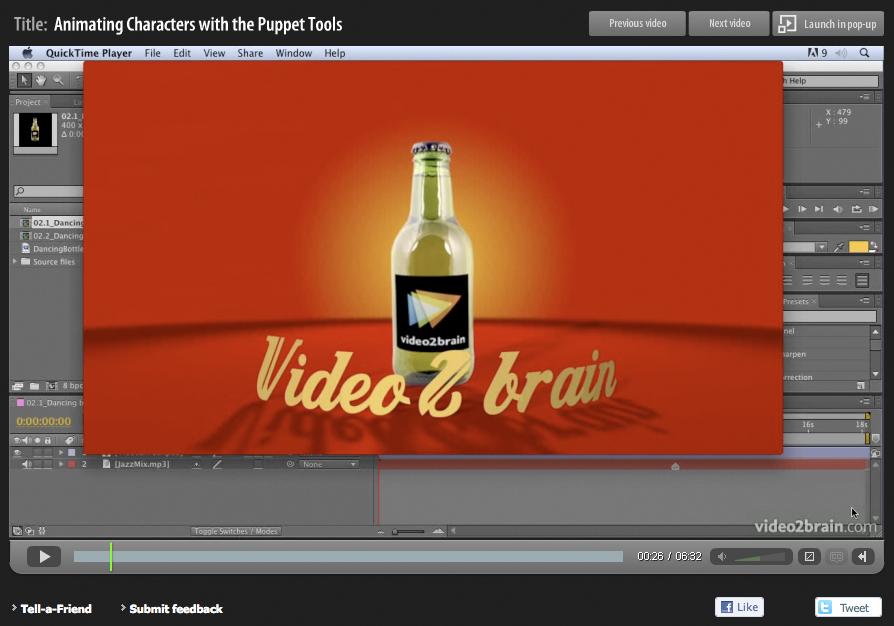
Hand-drawn animation with After Effects Paint tools
Week four of 2011 brings my fourth FREE Giveaway Tutorial. This tutorial comes from my Adobe After Effects CS5 Learn by Video DVD from video2brain. The paint tools in After Effects are usually used for cloning or filling in mattes, but they can also be used to create stop-motion-style animation. In this movie you’ll see how…
-
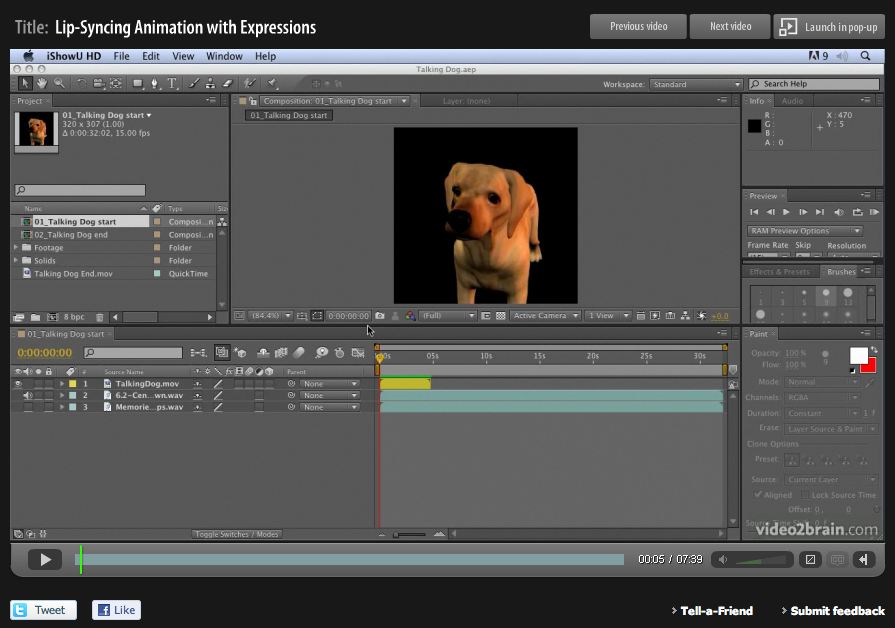
Lip Sync in After Effects
Lip-syncing is something that all animators will be asked to do at some point in their career. The following technique automates the process of lip sync in After Effects and uses only built-in features of Adobe After Effects – no extra software is required! This video tutorial is an updated version for Adobe CS5. Tutorial…
-
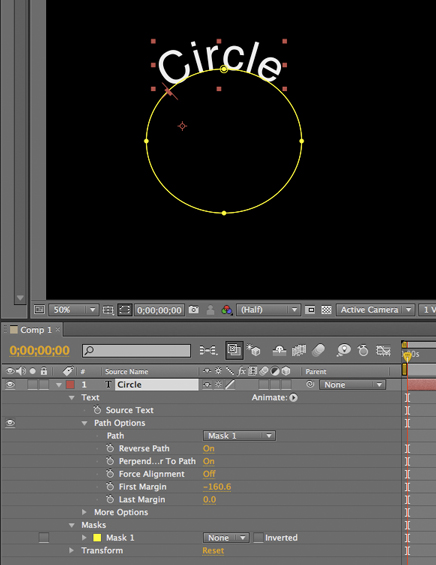
Tip: Wrapping text around a circle in After Effects
I saw a post on the After Effects mailing list today asking how to wrap text around a circle in After Effects. Here’s how it’s done; 1) Create a text layer with the text you want. 2) Select the layer and then, with the Ellipse tool, draw a circular Mask on the Text layer. 3)…
-
Creating a Cityscape in 3D
I want to share an example of one of my tutorials that I’m very proud to say inspired a great piece of work, “Black Day to Freedom” by the amazing Rob Chiu. I met Rob after watching a very inspiring talk he gave at the Flash on the Beach conference a few years back. I…
-
A free tutorial gift for the holidays
Well, another year comes to an end and the holidays are about to begin. What better way to spend your time off than sitting back comfortably and allowing me to entertain you with some of my latest After Effects CS5 tutorials? Here’s a free tutorial movie for you, taken from the “Jumpstarts” section of the…
-
Is drawing important for designers?
Things that may not occur to you by just simply looking at an object. you need to truly understand these things to make your drawings work. Even if you don’t like your finished drawings, that really doesn’t matter, it’s the process of losing yourself in the craft of drawing that matters.
-

Adobe After Effects Training DVD and book
Well, it’s all happening this week! My new book, “Design Essentials for the Motion Media Artist” finally went on sale. As well as the book, I also have a new training DVD on the way which I worked on with the amazing Todd Kopriva from Adobe. As a little taster of what’s to come is…
-
Digital Arts Online Tutorials
Free tutorials, created for Digital Arts magazine Master Particles in Adobe After Effects Shatter and Card Dance are two of After Effects CS4’s most underrated particle effects. Both were created by Brain Maffitt’s Atomic Power Corporation, before being bought by Adobe to include in After Effects. Both Card Dance and Shatter allow you to divide…