Category: Blogroll
-

Motion Graphics Webinar
Motion Graphics Webinar – Join Angie Taylor for an engaging, free webinar packed full of the best tips & tricks for Production Premium CS6.
-
Vibrant Vignette Presets for Sapphire
This week saw the release of my latest collection of Vibrant Vignette Presets for Sapphire. This collection features a weird and wonderful collection of vignettes in an attempt to prove that vignettes don’t always need to be black and circular.
-

Adobe After Effects CS6 – Learn by Video
Adobe After Effects is an incredibly deep and rich set of tools for creating motion graphics, manipulating movies, adding visual effects, and more. In this Learn by Video course, created in partnership with our friends at Peachpit Press, experts Todd Kopriva and Angie Taylor teach you how to make the most of this powerful software,…
-
Illustrator CS6 – Learn by Video
This Learn by Video course offers in-depth training on the interface, workflow, and features of Adobe Illustrator CS6. Amongst other things you’ll learn my own techniques for drawing characters including my “Illustrator” superhero. Here’s the intro movie where I tell you more about the course.
-

Chocolate Flavored After Effects Presets
As a special Easter treat I’ve created a set of free, chocolate flavored After Effects presets for the readers of my blog and newsletter, I hope you enjoy them. Here’s a little taster of what’s included in the pack. The download link is below the preview movies.
-
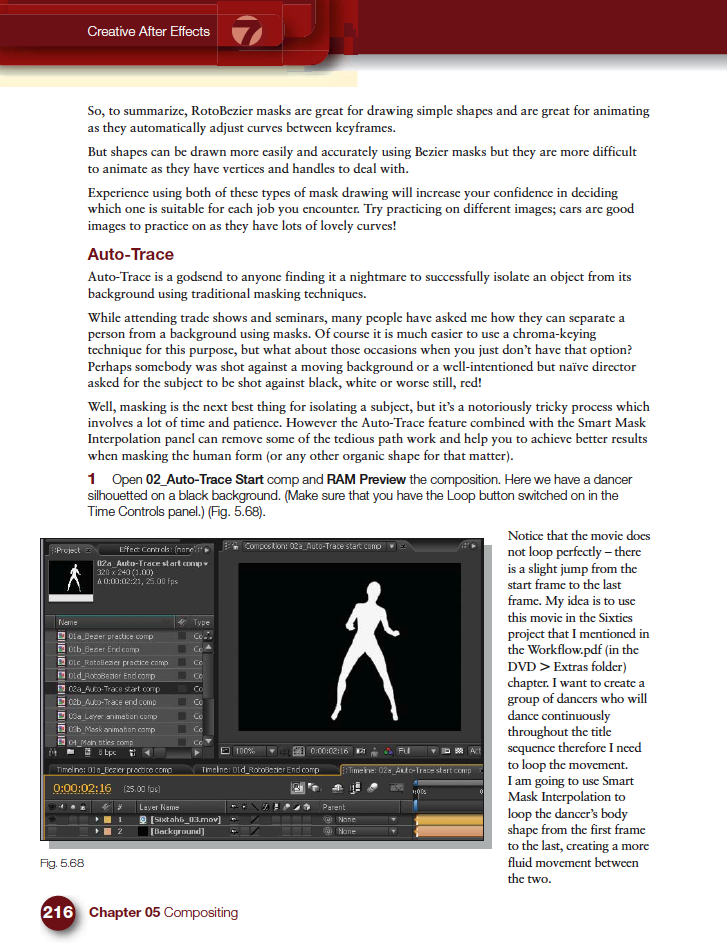
Mask Interpolation Tips
Masking is one of the features of After Effects that I get asked about the most during my After Effects training courses. People seem to have lots of problems animating masks in After Effects and I’ve noticed a few forum questions about it recently so I thought I’d provide some quick mask interpolation tips and links…
-
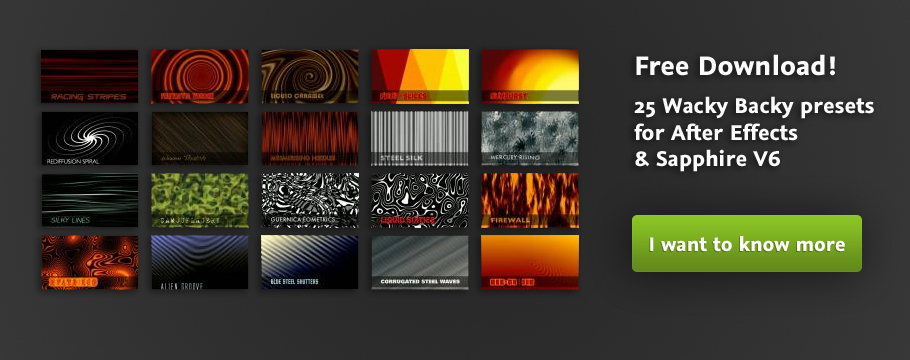
Free After Effects Preset Collection
“Wacky Backy” is my free After Effects preset collection for Sapphire V6. It is now freely available to download from Genarts FX Central. These animated backgrounds have a slightly wacky quality and can be used freely in your own creative projects.
-
Creative Graphic Design: Essential Typography
Making good decisions is essential in typography — choosing the right typefaces, fonts, sizes, spacing and so on — can have a major impact on the quality of your designs. In this one-of-a-kind workshop, art director, illustrator, and motion graphic designer Angie Taylor introduces you to the essential principles of typography. After exploring the terminology,…
-
Happy 2012 – More free downloads
Well another year almost over. I’m looking forward to 2012, hoping that it’s a better year for our industry and for all my friends. I have a couple of exciting bits of news to share and more free downloads so here’s my final blog for the year.
-

Winter Sale!
In my winter sale there’s 30% off all Wacom workshops in my store. This offer includes volumes 1, 2, 3 & the Master Collection. To find out more you can check out the courses here and even watch some free preview movies to get a taster of what’s on offer. (Any links highlighted in black…
-

Happy Holidays After Effects Presets
So here is an After Effects project, complete with custom artwork. It contains some interesting techniques to help add a little festive cheer to your seasonal animations. All the effects used are native After Effects plug-ins so no extra software is required and it was created in After Effects CS4 so can be opened in…
-
Bargains & “Free Stuff” for Designers
There are bargains & “free stuff” for designers and VFX artists right now in the Holiday sales. I know that may of my readers are students and professionals who are just starting out in their career. Many of you may not be able to afford the full cost of commercial software so these sales give…