Category: Blogroll
-
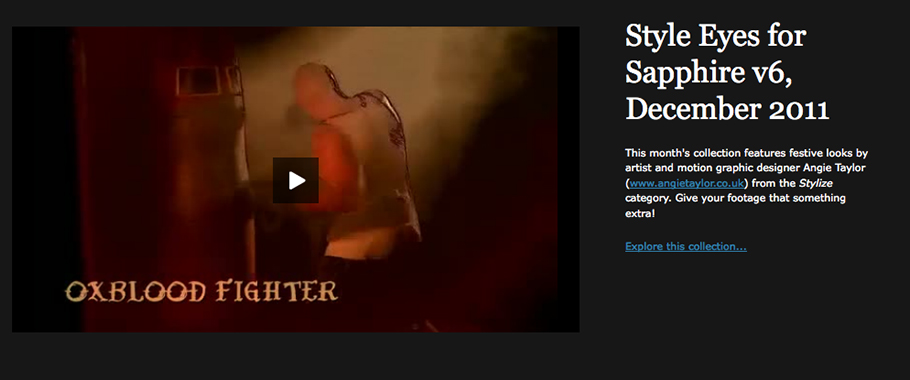
“Style Eyes” – Genarts Sapphire Preset Collection
I’m pleased to announce “Style Eyes” my latest Sapphire preset collection of 25 free presets from the Stylize category of the plug-ins for After Effects and other hosts. Give your footage that something extra! Pre-defined looks designed for music videos, outdoor locations, sport and weddings. Includes “Rubber Nightvision” inspired by a job that I worked on…
-
Creative Graphic Design: Essential Typography
My new workshop, Creative Graphic Design: Essential Typography is due to be released next week, just in time for the festive season! The folks at video2brain have kindly allowed me to give my readers a sneak preview and access to one of the movies from this workshop so here it is. Master the Art of Arranging Text…
-
Tip of the Week
Animating Characters with the Puppet Tool from: Adobe After Effects CS5: Learn by Video. Welcome to this week’s Tip of the Week feature in a brand new video format. After Effects has great tools for character animation called the Puppet tool. The Puppet Pin tool places a mesh over your footage using the alpha channel.…
-
Something’s happening in Europe!
2011 marks another great landmark for video2brain which will be announced this week. I wish I could tell you now but my lips are sealed. All I can say is please keep an eye on the countdown on our video2brain website. And if you want to get an idea about the kind of video training…
-
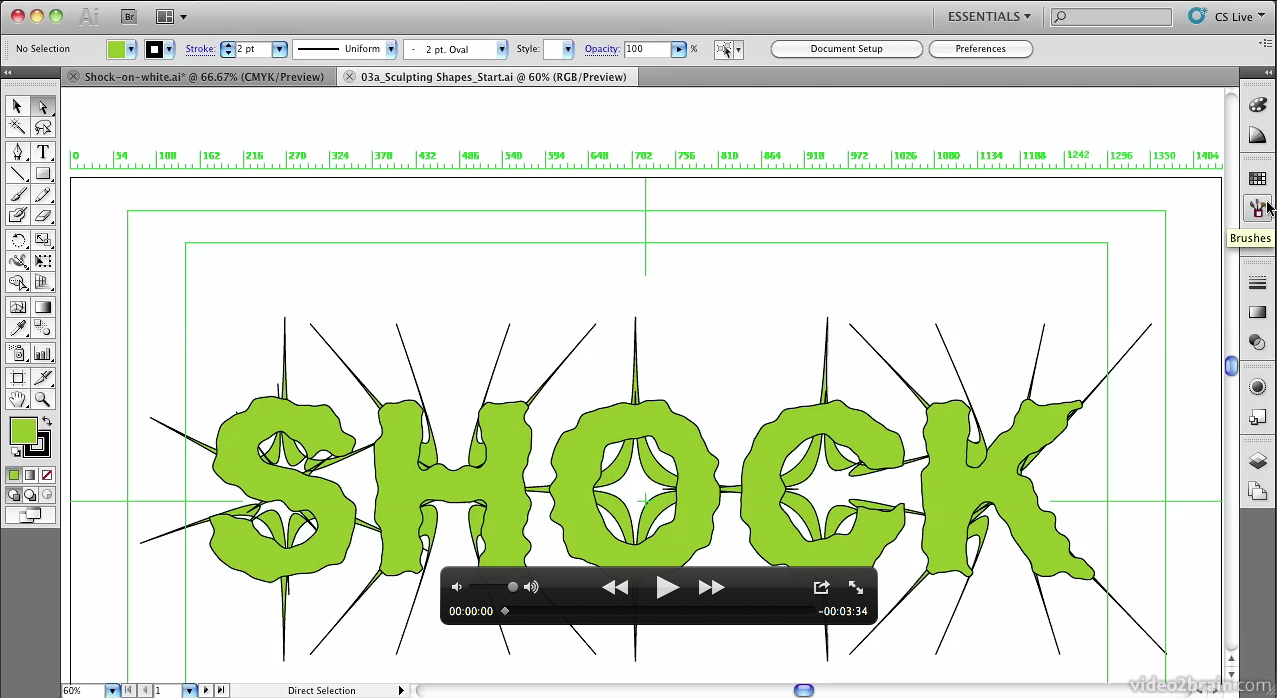
Typography Video Training
Creative Graphic Design: Essential Typography is a workshop on the principles of designing with text. I’ve just finished recording my latest typography video training workshop with the fantastic team at video2brain. It’s a workshop with a difference. If you want the salient points delivered to you quickly so you can get on with your work.…
-

Wacom Masterclasses
I’m pleased to announce the release last week of the new Wacom Masterclass series of workshops. I’ve worked with Wacom tablets for years and love the creative flexibility they provide to my work. In these tutorials I share some of the techniques I’ve learned over the years. If you want to check out some free…
-
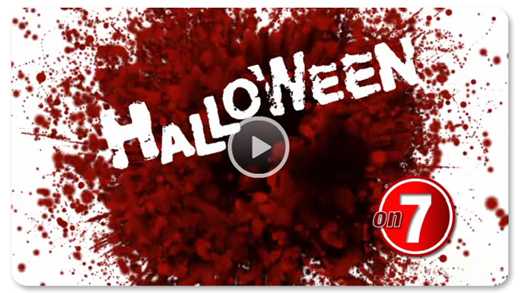
Free Blood Splatter Preset for Halloween!
This free After Effects preset features a complete After Effects Project containing a graphic design idea for a TV Ident. It features a graphic, stylised blood splat made with Trapcode Particular. The blood particles use a light emmitter and bounce against a layer used as a Wall. The blood “bleeds” around the text to reveal…
-

Font Links for Kinetic Typography
I recently published my Kinetic Typography Techniques for After Effects course. In it I used a wide selection of fonts that are freely downloadable from various websites, just to make sure everyone following the tutorial could get access to the same fonts. Unfortunately one of the websites I recommended is no longer in operation. Below…
-
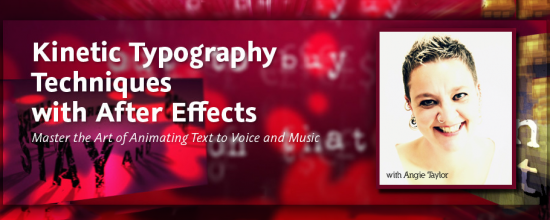
Kinetic Typography Techniques for After Effects
I was asked to create a workshop on Kinetic Typography techniques for Adobe After Effects by several people including the lovely people from video2brain who produced this epic workshop for me. I’d like to thank them all for their patience and professionalism throughout this long project! I’m pleased to say that I have finally finished…
-
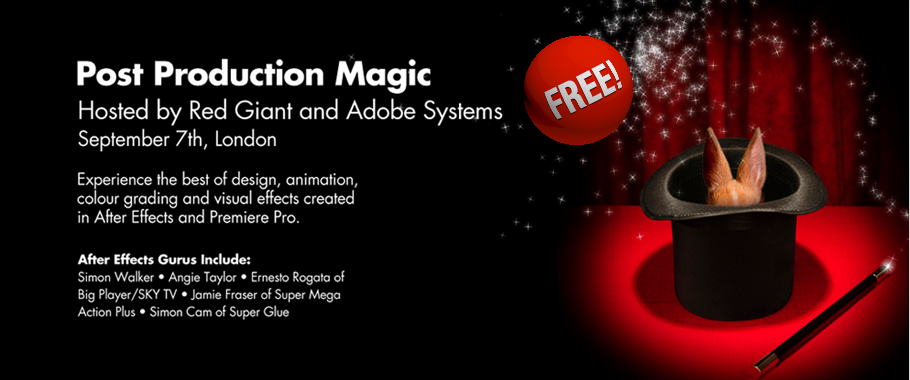
Post Production Magic
Join Red Giant for an evening of inspiration I’ll be speaking at Red Giant’s FREE Post Production magic event in September. Here’s the blurb! Event Registration is available now on the Adobe website. When a group of amazing animators get hold of a projection system, you’re either going to get an evening of inspiration or a…
-
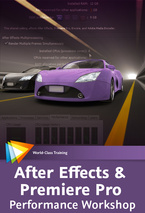
Free After Effects & Premiere Pro Performance Workshop
I’m excited to be able to offer a free top-up course on my website to all my lovely visitors. In this free course, Adobe Technical Support Lead Todd Kopriva offers dozens of tips for optimizing Premiere Pro, After Effects, your operating system, your computer, and your workflow for maximum speed and performance. He makes recommendations…
-
Post-Digital Aesthetics make a welcome return
I’ve been speaking at events for a long time, in fact I can’t believe how long, after fifteen years now I’m classed as an industry veteran! (I’m not sure whether to be happy or sad about that one!). It’s been great to be in this position as I’ve seen the industry develop both technically and…