Tag: Software
-
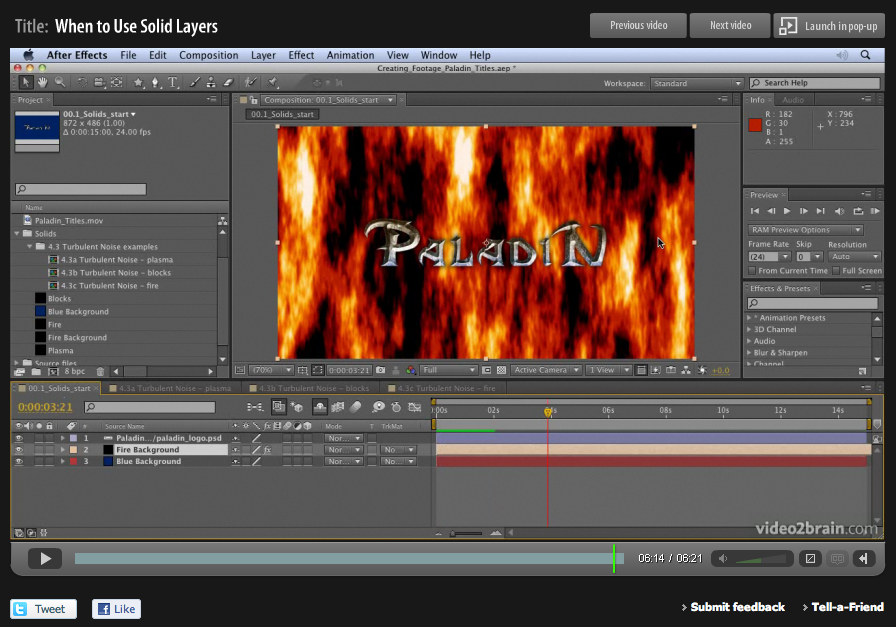
Basics on Solids in Adobe After Effects
When designing motion graphics in Adobe After Effects there are times you just need to create a plain old layer to apply effects to. Solids are just right for this purpose, and for lots of other uses in After Effects. This video is aimed at a basic level. It shows you how to create solid-color layers…
-
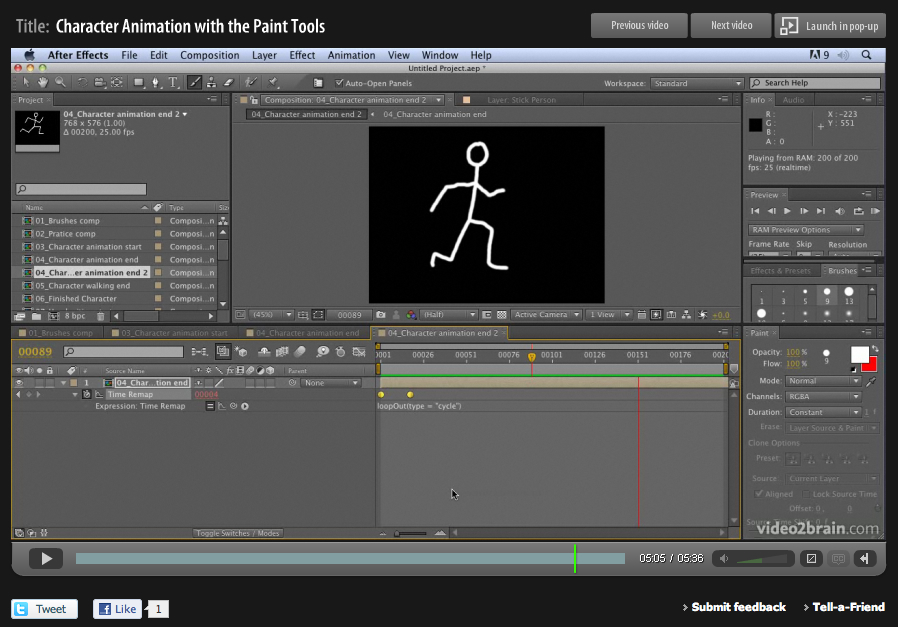
Hand-drawn animation with After Effects Paint tools
Week four of 2011 brings my fourth FREE Giveaway Tutorial. This tutorial comes from my Adobe After Effects CS5 Learn by Video DVD from video2brain. The paint tools in After Effects are usually used for cloning or filling in mattes, but they can also be used to create stop-motion-style animation. In this movie you’ll see how…
-
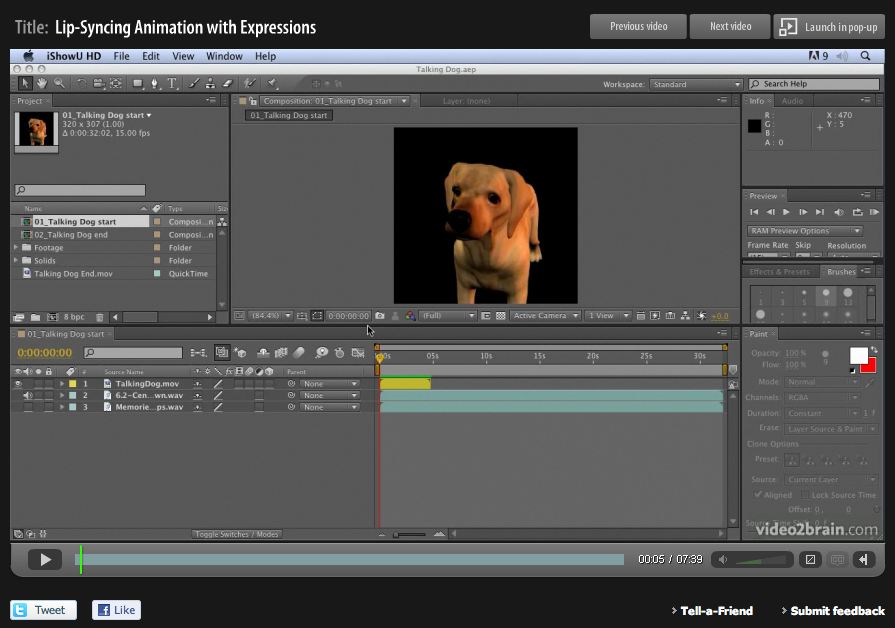
Lip Sync in After Effects
Lip-syncing is something that all animators will be asked to do at some point in their career. The following technique automates the process of lip sync in After Effects and uses only built-in features of Adobe After Effects – no extra software is required! This video tutorial is an updated version for Adobe CS5. Tutorial…
-
A free tutorial gift for the holidays
Well, another year comes to an end and the holidays are about to begin. What better way to spend your time off than sitting back comfortably and allowing me to entertain you with some of my latest After Effects CS5 tutorials? Here’s a free tutorial movie for you, taken from the “Jumpstarts” section of the…
-
Employment versus self-employment
Last month I made a life-changing decision to resign from my post as Creative Director of GridIron Software and return to self-employment. This was not an easy decision to make, particularly at this time of economic uncertainty but sometimes you have to take a leap of faith and do what you feel is right, deep…
-
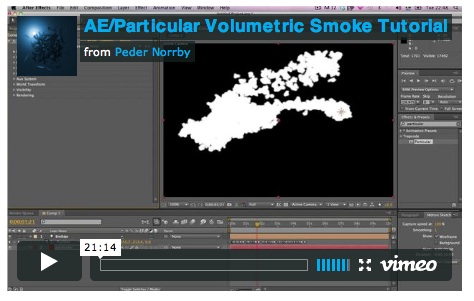
Trapcode Particular Free Tutorial
I’ve just watched a great After Effects tutorial, made by my good friend, the great Peder Norby of Trapcode fame. He’s dome a wonderful job of teaching you how to get the best volumetric smoke effects using Particular. I love this tutorial as it was totally improvised so it shows how he had to experiment…
-
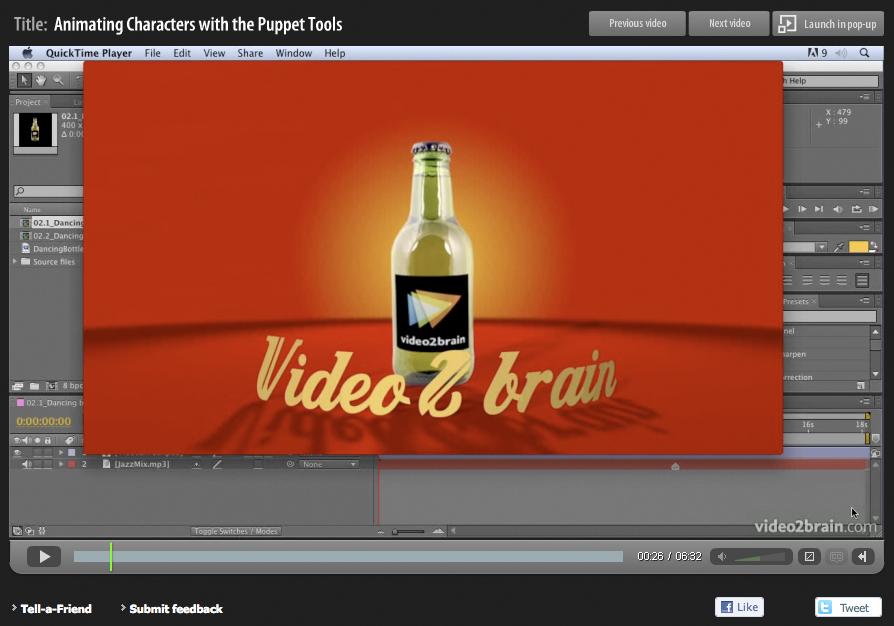
After Effects CS5 – Learn By Video by Angie Taylor and Todd Kopriva
Well, what a busy old month I’ve had! I’ve crossed several time zones and been on more flights than I care to mention. But all for good reason. Earlier this month I went to Graz, Austria to record an After Effects training DVD for the amazing folks at Video2Brain. It was really good to be…
-
Angie’s software favourites of the month
There are a few nice pieces of software around at the moment that I want to share with you. The first is Beauty Box from Digital Anarchy. An incredible plug-in for video applications (like After Effects, Premiere Pro and Final Cut Pro). If you shoot interviews or wedding videos and don’t have a good make…
-
Copyright or wrong?
I’ve been busy putting the finishing touches to my forthcoming book, “Design Essentials for the Motion Media Artist“. It’s funny, I’ve written books before. Software books, teaching people how to use Adobe After Effects to be specific. I was commissioned to write these books, at the time there were very few books on the subject…
-
MacWorld 2010 – Are you going to San Fransisco?
I’m hoping to see a few of you at MacWorld 2010 where I’ll be speaking next year. I love San Fransisco so will be taking a little extra time out to hang out with my old friends, Amacker and Nina at the Lucky 13 bar on Castro. I also hope to catch up with all…
-
Two worlds collide
I’ve had many careers in my lifetime, one of them being a deejay in the 1990s London club scene. I regularly deejayed at clubs like FF at Turnmills, Mix it at Heaven, The Fridge, The legendaryBell in Kings Cross, and the good old Market Tavern. I gave it all up in about 1993 to follow…