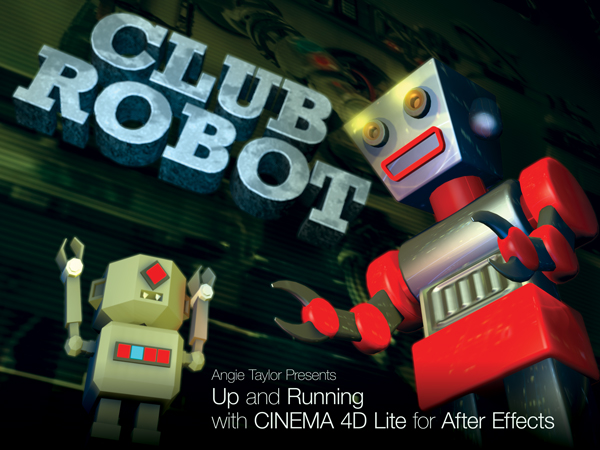
Intimidated by 3D modeling packages? Dip a toe in the water with CINEMA 4D (C4D) Lite, a slimmed down version of CINEMA 4D included with After Effects CC. Motion graphics designer Angie Taylor shows you how to build a complete sequence in C4D Lite, progressing from initial object modeling, to animation, lighting, camera rigging, texturing, and final render. Plus, learn to animate text, create random movement with wiggle expressions, track cameras in live-action footage to add new 3D elements, and light your scene. Angie also round-trips the project files to After Effects for visual effects and color correction. With over 100 videos, this course allows you to explore almost every aspect of 3D motion graphics creation, within this accessible introductory tool.
Topics include:
What is CINEMA 4D Lite?
Understanding the CINEMA 4D Lite and After Effects CC workflow
Editing primitive objects
Spline modeling with NURBS
Animating with keyframes
Using Xpresso to link properties
Importing music and soundtracks
Creating and animating cameras
Working with text
Scripting
Creating and applying materials and textures
3D camera tracking
Compositing layers
Lighting with visible lights and ambient occlusion
Adding visual effects in After Effects
Rendering in After Effects and the Adobe Media Encoder
This review is from: Adobe After Effects CS6: Learn by Video (Paperback)
I get many emails asking for the best way to begin learning a new software such as After Effects. My first suggestion is to start with a training video for the software of your choice. This is especially true for a robust and complex software such as After Effects CS6.
I found After Effects to be intimidating in spite of my strong Adobe Flash background but the Adobe After Effects CS6 Learn by Video training course from video2brain gave me a good solid base upon which to build. The authors Todd Kopriva and Angie Taylor share the instruction with Kopriva covering the technical aspects of the software and Taylor covering the creative.
The authors start with a short history of the After Effects software leading to what’s new in version CS6. With a panel-by-panel tour of the user interface, you are introduced to the basic project workflow and terminology.
Next, you learn what makes up a basic composition and how to build your own comps from scratch. You first learn how to create a line of text with the Character panel and a block of text with the Paragraph panel and then move on to using shape layers for creating simple and complex vector shapes.
The fun really starts with the Effects and Presets panel. You will learn how to apply a Keylight effect to turn the original background transparent. Then you create a new solid which will be your new background to which you can add effects such as the CC Mr. Mercury effect.
Not all comps are built from scratch. You learn how to import assets such as movies, stills, image sequences and audio. Also introduced is how to manage and organize the various assets for your comp. Of course, you will need to know the options for importing Photoshop, Illustrator, After Effects, Premiere Pro and Final Cut Pro files. You will also learn about interlacing, pixel aspect ratio, and trimming basics.
Halfway through the course, we get to the part I enjoy the most which is animation. First, you cover the basics including how to use keyframes and tweens to control the transformation of various properties. Next, you cover motion paths and how to use Motion Sketch to draw freehand paths. Delving deeper into animation, you learn about the various types of keyframes in After Effects and how to use the Keyframe Assistants and Graph Editor to refine your animations.
The next section covers text animations. Taylor covers options for importing text created in Photoshop and how to edit the text in After Effects. She then demonstrates an easy and fast way to animate each letter individually with the Text Animators. She shows you how to combine animators to create more complex animations and how to save your custom animators as presets. Next we see how shape layers can be used to create many effects, as well as using the Repeater to emulate a particle-like effect.
Switching back to Kopriva, we learn the basics of compositing and how many effects can be created using Blending Modes, Alpha Channels and Masks. Next he discusses common problems and how to correct them with Color Keying, Motion Tracking and Rotoscoping.
The next section concentrates more closely on how to create custom effects. Beginning with a discussion of the Effect Controls panel and categories. Taylor also covers how to use keyframes to animate properties and how to apply easing. One nice feature is the Brainstorm viewer that lets you preview variations of effects and save them as presets. She also discusses what she calls fixer effects for solving common problems such as rolling shutter. She ends this section by covering how to edit layer styles and adjustment layers imported from Photoshop to create effects.
When working with video, you can manipulate the frame rate to achieve various effects. Kopriva first discusses frame rate in general and then covers common retiming tasks such as Time Stretching, Time Remapping, Freeze Frame, Slow Motion and Reverse Frame.
The next section concentrates on your workflow and ways to use grouped and linked layers as well as nesting and pre-composing. One example of character animation demonstrates parenting hierarchy and IK. You also learn about expressions and how easy it is to write your own for complex animation.
Animating 3D effects can add realism to your projects and this section of the course begins by discussing how to use the 3D wireframe and other views needed to work in 3d space. Once you are familiar with working in 3d space, Taylor moves on to how to animate by bending layers. She also covers the basics of using camera presets and controls for depth of field and point of interest. Next, she adds lighting to the 3D scene and walks you through the various types of lighting such as Environmental, Point and Spotlight and how to work with cast shadows and reflections. Reflections can be very important to the realism of your scene and Taylor discusses the various controls such as Reflection Intensity, Sharpness and RollOff, as well as Specular Intensity and Shininess and Environmental Layer maps.
Switching back to Kopriva, we discuss optimizing software performance by adjusting the default preferences and taking advantage of Ram and Disk Catching. Next, he covers After Effects default render order and how this order determines the final render, much like the hierarchy in Cascading Style Sheets determines the final HTML document.
After Effects has several options for exporting your projects and in this section Kopriva discusses how to use the Render Queue. Much like other video exporting, he shows you how to set the various format options. He discusses how to use preset output templates and how to save your own custom settings as a template. He demonstrates how After Effects can save time by rendering several formats simultaneously. Next, he does a walk through of how to use the Adobe Media Encoder to choose output presets for Vimeo, Apple and Android.
The final section is a wrap up and final thoughts. It examines several projects and discusses how they were made. It also covers how to integrate After Effects with Cinema 4D.
The course includes 10+ hours of the video2brain Learn by Video series and supporting files for following along for a hands-on, watch-and-work teaching approach. Also included with the DVD is a small booklet with additional information. As with all the Learn by Video series, you have an easy-to-use control panel for viewing the videos.
Todd Kopriva has been with Adobe and After Effects since version 7.0. He creates Adobe documentation and training materials. Angie Taylor has worked 14 years in motion graphics and animation. Examples of her work have been featured on the BBC.
*Peachpit Press provided a copy to me for review purposes.
In my life as a motion graphic designer I’ve learned a few important lessons. In this interview with John Dickinson from Motionworks, I share my experiences in my career as an artist, author and motion graphic designer.
I really enjoyed this interview. John is excellent at getting the best from his interviewees. I just felt like we were having a chat. I hope that my ramblings help to inspire anyone thinking of following a career in motion graphic design.
It’s finally here, my brand new After Effects CS6 – Learn by Video course. I worked on this course with Adobe’s Todd Kopriva who I just love working with. Together we teamed up to provide a good mix of technical and creative training in our favorite software application. We hope you enjoy it. Here’s an intro to the course from us both.
This Learn by Video course offers in-depth training on the interface, workflow, and features of Adobe After Effects CS6. If you subscribe to my newsletter you can get 20% off this course with a discount code. The contents of this course include:
Introducing After Effects CS6
In this chapter you’ll get an overview of how After Effects works, what it does, and what the main controls are.
Interface Tour
Before you start following along with the instructions in this training, it will help to learn what the controls are called and where things are located. You’ll learn about the basic controls and the most commonly used panels in this chapter.
Creating Compositions and Layers
In After Effects we work in projects. Every project contains compositions, each of which is the framework of a movie; layers are assembled within the framework of these compositions. In this chapter you’ll learn how to create compositions and bring layers into them from the Project panel. You’ll also learn how to create layers from scratch.
Importing Footage
In this chapter you’ll learn how to bring various types of files into After Effects. You’ll also see how to make sure After Effects interprets these files correctly and how to manage them once you get them in.
Interpreting and Managing Footage
Sometimes you need to tell After Effects how to use source files. This chapter shows you how to set various parameters for how files are interpreted and used.
Animation Basics
The most important aspect of learning to fully understand After Effects is getting to grips with how After Effects handles animation. Once you have mastered the topics covered in this chapter, you can really do anything in this powerful application.
Fine-Tuning Animation
This chapter will take your animation skills further by showing you how to understand timing. You’ll learn how to work in the Layer panel and the Graph Editor for more precise control over layers and animation.
Animating Text Layers
Text layers can be animated in a variety of different ways to create exciting and compelling motion graphics. In this chapter you’ll learn about the properties and methods used to control these layers. Text layer properties use a slightly different animation system than standard layer properties, so we’ll also discuss the idiosyncrasies involved in animating these wonderfully flexible design elements.
Fun with Shape Layers
Shape layers are pretty unique but can be confusing to new users. This chapter will help demystify shape layers and give you the confidence to push them in all sorts of creative directions.
Basic Compositing
Compositing is about stacking layers on top of one another and making parts of each layer show through others in specific ways. You’ll learn about many of the ways to composite layers together in this chapter.
Effects
After Effects provides you with scores of effects that you can apply to your layers, allowing you to create virtually any look or style you like. Imagine being able to animate all of these over time and you get a real sense of the creative flexibility that After Effects can offer you. This chapter tells you everything you need to know to create amazing effects.
Time
A movie is a series of images that plays over time, and After Effects provides many powerful controls for controlling exactly how this happens. This chapter will teach you about tools like frame blending, slow motion, freeze-frame, and more.
Grouping and Linking
There are times when it makes sense to group layers together into a single item, either to simplify complicated comps or to make editing, moving, or applying effects a whole lot easier. In this chapter we’ll look at several methods for grouping layers together.
Introduction to 3D
After Effects allows you to transform and animate your layers within a 3D environment. This adds some complexity to your compositions. After Effects CS6 also lets you work in ray-traced 3D, where you can extrude and bevel shapes and text and even bend video layers. In this chapter you’ll see how After Effects deals with mixing 2D and 3D in the same composition.
Memory and Performance
Every person, project, and computer system is different. In this chapter you’ll learn how to configure After Effects to match your needs, the capabilities of your computer system, and the needs of your projects.
Render Order and Collapsing Transformations
Layers and their components are processed in a specific order. In this chapter you’ll learn about that order and how to use special features to control it
Output Options
When you’re finished with your project, you need to get your data out of After Effects, usually as a finished movie. In this chapter, you’ll learn the basics of rendering and exporting movies.
Project Explorations and Recap
This chapter contains some examples of animations created in After Effects along with explanations of how they were made. You’ll also get some tips on integrating After Effects with Cinema 4D, as well as some final thoughts on the course and suggestions for further learning.
The lessons are wrapped in a feature-rich interface that lets you jump to any topic and bookmark individual sections for later review. Full-Screen mode provides a hi-def, immersive experience, and Watch-and-Work mode shrinks the video into a small window so you can play the videos alongside your application. Also included are exercise files that give you an easy way to try out the techniques you learn and a 48-page guide containing supplemental material.
I’m very pleased to announce that my new workshop – Adobe Illustrator CS6 – Learn by Video – is now available to buy directly from the web store on my videos page. I’m also featuring some free example movies from this workshop right here so you can try before you buy.
Newsletter subscribers can also benefit from a 20% discount code off the price of the entire workshop so if you haven’t already subscribed you can do so now to take advantage of this and other special offers only available to my subscribers.
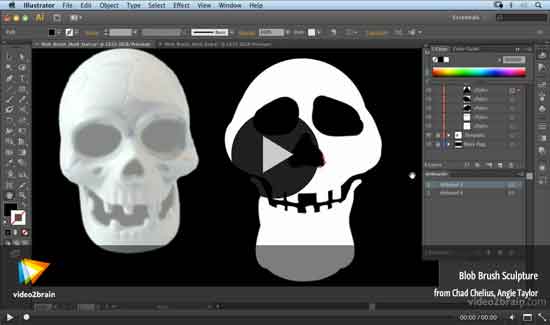
This Learn by Video course offers in-depth training on the interface, workflow, and features of Adobe Illustrator CS6. Amongst other things you’ll learn my own techniques for drawing characters including my “Illustrator” superhero. Here’s the intro movie where I tell you more about the course.
The contents of this course include:
Introducing Illustrator CS6
In this chapter you’ll be introduced to Adobe Illustrator — what it is and what it does — and get an overview of what will be covered in this course. You’ll also be taken on a tour of the new features in Illustrator CS6.
Illustrator Fundamentals
This chapter explores two concepts that are crucial to an understanding of how Illustrator works: the difference between bitmap (or raster) images and vector images, and the concept of paths.
Exploring the Illustrator Interface
In this chapter you’ll learn how to work with important elements of the Illustrator interface like panels, the Application bar and frame, artboards, and workspaces.
Navigating and Using Views in Illustrator
Being able to easily move around your documents and see them in different ways can be a big help in your work. This chapter will explain how to navigate in Illustrator CS6 and use the different viewing and screen modes.
Working with Documents
This chapter shows you how to efficiently create, modify, and view documents. You’ll learn how to use templates, guides, grids, Adobe Bridge, and more.
Creating and Working with Shapes
Shapes are a very important part of Illustrator, and in this chapter you’ll learn about the various tools available for creating and modifying shapes.
Transformations
You can transform objects in a variety of different ways in Illustrator CS6. This chapter shows you the various methods that can be used to transform and modify objects, including how to use the Transform panel.
Understanding Objects and Layers
This chapter shows you how to select and modify objects in Illustrator CS6 and explores the multitude of options you can use to create artwork. We’ll look at saving selections, grouping items, layers and stacking order, and Isolation mode.
Drawing
Drawing is at the heart of the work you’ll do in Illustrator. In this chapter you’ll learn all about the tools, techniques, and features related to drawing in Illustrator CS6.
Using Symbols
Symbols are a handy feature in Illustrator, and in this chapter you’ll learn how to create them, move and rotate them, adjust their size and color, and apply graphic styles.
Color
Color makes a big difference to the appearance of your artwork. In this chapter you’ll learn how to work with color-related features in Illustrator like the Colors panel, swatches, gradients, Live Paint, and more.
Typography
In this chapter you’ll learn how to add text to your documents, format that text, create styles, and more.
Working with Images
In this chapter, you’ll learn how to place graphics and see all the tools Illustrator offers once they are there to help you get great results in your designs.
Working with Effects
With effects, you can apply a look to a path that doesn’t alter the path at all. It will print like what you see on your monitor, but in reality, it’s all just an illusion…a very powerful, editable, printable illusion that can be saved as a PDF, placed in Photoshop and InDesign, and more. You’ll learn all about this incredible technology in this chapter.
Graphs
If you have information you want to convey as a graph or chart, Illustrator has the tool. The chart and graph tools in Illustrator aren’t new, but they are very powerful and allow you to present data in a more interesting way, as you’ll see in this chapter.
Beyond Illustrator
Eventually there will come a time when you want to save your Illustrator work as a PDF or in one of the common web file formats, or output it for use in an animation. The videos in this chapter will show you how.
Project Explorations
In this chapter you’ll apply the skills you’ve learned in this course to some projects that give you an idea of just what Illustrator is capable of.
Closing Thoughts
In this chapter you’ll get a brief recap of what’s been covered in the course and a few final thoughts from the author.
The lessons are wrapped in a feature-rich interface that lets you jump to any topic and bookmark individual sections for later review. Full-Screen mode provides a hi-def, immersive experience, and Watch-and-Work mode shrinks the video into a small window so you can play the videos alongside your application. Also included are exercise files that give you an easy way to try out the techniques you learn and a 48-page guide containing supplemental material.
This week, to celebrate the launch of Adobe’s Creative Suite I’ve released a whole host of new Adobe CS6 software training videos from new and forthcoming workshops produced with video2brain. So now you know why I’ve been relatively quiet for the last couple of months!
The workshops will be out very soon but meanwhile we thought it would be nice for you to get a sneak preview of what you can expect from the full workshops. Here’s a little bit about CS6, from the perspective of the video2brain authors. You can more free example movies from each of my new titles listed below.
Adobe After Effects is an incredibly deep and rich set of tools for creating motion graphics, manipulating movies, adding visual effects, and more. In this Learn by Video course, created in partnership with our friends at Peachpit Press, experts Todd Kopriva and Angie Taylor teach you how to make the most of this powerful software, including the new features in After Affects CS6.
After getting an overview of the workflow and the user interface, you will learn how to bring assets into After Effects and configure the software for optimum performance. You’ll also learn a range of compositing features, including the new variable-width masks and 3D camera tracker features, as well as basic masking and color keying. Tips on everything from troubleshooting and avoiding common problems to creating finished movie files round out this comprehensive training.
I’ve also finished working on two new titles for Adobe Illustrator CS6 which will be out really soon. Below are some taster movies from my Adobe Illustrator CS6 – Getting Started course and my Adobe Illustrator CS6 – Learn by Video course that I created with co-author Chad Chelius.
If you’d like to be kept up to date as soon as new courses become available you can subscribe using your favourite browser or email client.
As you may know I have a video store on my page where you can watch some of my training videos completely free of charge with new upgraded video streaming.
If you like them you can buy entire workshops or sign up for a subscription via this introductory pricing offer. With a subscription you can get access to the entire video2brain library of courses from me and other trainers.
You can check out some of the other trainers profiles here. there’s some phenomenal talent at video2brain, that’s why I love working with them. It’s so inspiring to work amongst a team of people with such a vast selection of skills.
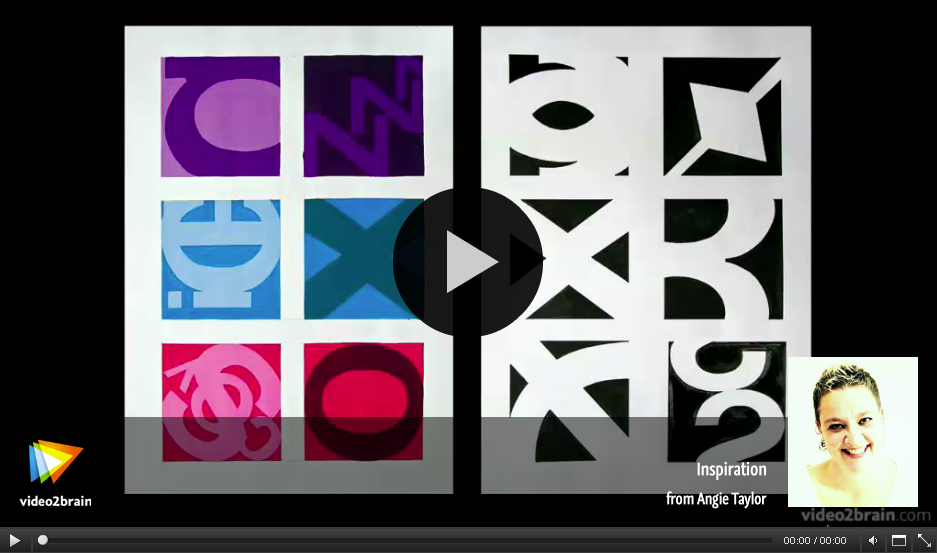
We rolled out some major upgrades to our streaming video servers today. More details will be coming soon, but for now, give our new and improved online experience a spin with this free lesson from my Essential Typography course, on the subject of inspiration. For the most immersive result, be sure to click Full-Screen Mode in the lower-right corner of the player.
Well another year almost over. I’m looking forward to 2012, hoping that it’s a better year for our industry and for all my friends. I have a couple of exciting bits of news to share and more free downloads so here’s my final blog for the year.
Mark Coleran, a good friend of mine and an extremely talented designer is giving away the entire LayerLab collection of After Effects template projects free. Layerlab was a resource for After Effects designers that Mark worked on a few years back. The project was put on hold while Mark pursued other career options. He’s now made a very kind gesture of giving these projects away for free. You can also check out Mark’s blog and portfolio here.
I have a new workshop out in time for the new year. Creative Graphic Design: Essential Typography – Principles and Techniques for Working with Text is a workshop with a difference. Making good decisions in typography — choosing the right typefaces, fonts, sizes, spacing and so on — can have a major impact on the quality of your designs. In this one-of-a-kind workshop I introduce you to the essential principles of typography.
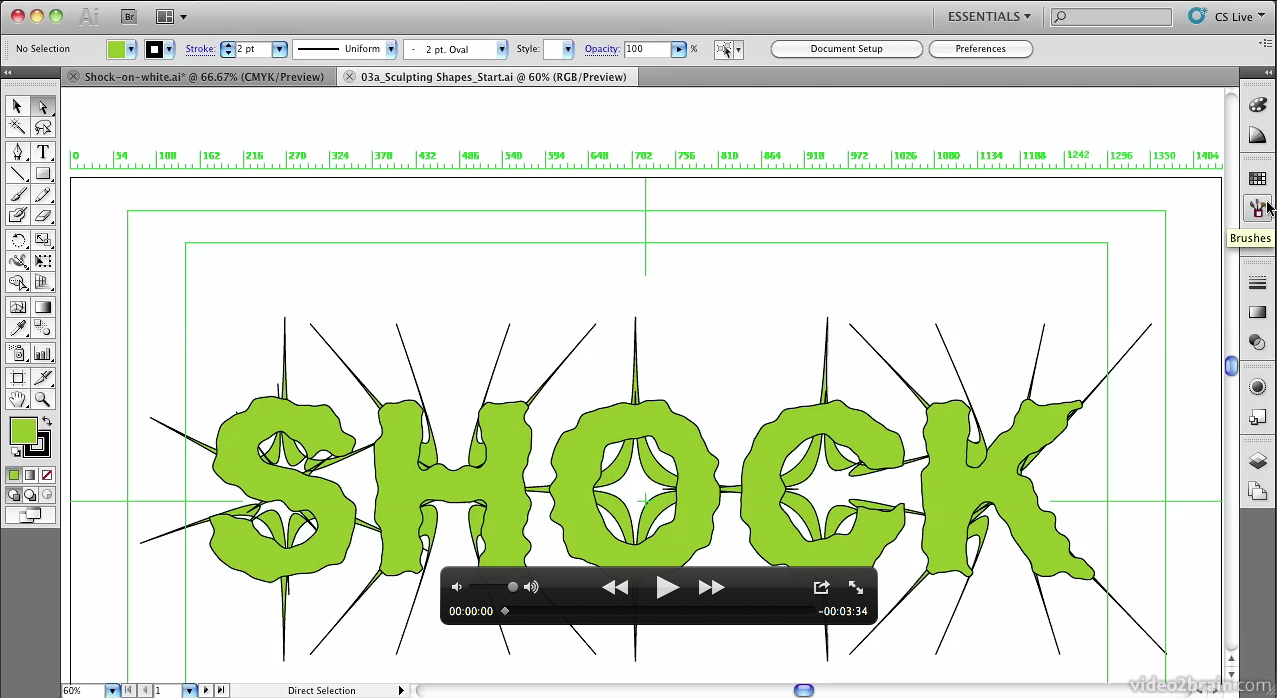
After exploring the terminology, history, and anatomy of traditional and computer-based fonts, I take you all the way up to the present day by looking at how text is formatted in today’s creative applications. You’ll also learn specific software techniques for creating your own lettering from hand-drawn text, animating text on a path, using operators and effects to customize existing fonts, working with 3D text, and more.
There are several free movies you can check out here. If you like what you see, here’s a special discount code for you if you’re interested in buying this course; Coupon Code: ETYP20 Discount: 20% Expires After: 29-Feb. Just enter the code during checkout to get 20% off the advertised price.
In my winter sale there’s 30% off all Wacom workshops in my store.
This offer includes volumes 1, 2, 3 & the Master Collection. To find out more you can read about them here and then check out the courses here and even watch some free preview movies to get a taster of what’s on offer. (Any links highlighted in black are free to watch.) If you decide to buy then just use the Coupon Code WACOM30 when checking out from my video store for 30% off any of the four Wacom courses or the entire Master Collection.
This offer is good through to the end of 2011. With all video2brain courses you now have the option to have them delivered to you on DVD. At the checkout you now have a checkbox option to add a disc for just $6.99 (this price includes manufacturing and shipping costs.)
The folks at video2brain are making last-minute gift buying easy for us! From now through the end of the month, any courses or subscriptions that you buy will come with a special code you can use to share that same training with a friend for free.
After you make your purchase, we’ll send you a PDF that includes a unique activation code that’s good through January 15th.
Send that PDF to your friend.
When they go to http://video2brain.com/en/code and enter their code, they can log in to video2brain or create a new video2brain account and have their new training added to their account on the spot.
So spend less time shopping this year, save on wrapping paper, and give the gift of video2brain.
Happy holidays and have a great New Year,
-from me and your friends at video2brain
My new workshop, Creative Graphic Design: Essential Typography is due to be released next week, just in time for the festive season! The folks at video2brain have kindly allowed me to give my readers a sneak preview and access to one of the movies from this workshop so here it is.
Master the Art of Arranging Text
Typography, the art of arranging text, has a long and storied history. In this one-of-a-kind workshop, art director, illustrator, and motion graphic designer Angie Taylor introduces you to the essential principles of typography. After exploring the terminology, history, and anatomy of traditional and computer-based fonts, she brings you all the way up to the present day by looking at how text is formatted in today’s creative applications. You’ll also learn specific software techniques for creating your own lettering from hand-drawn text, animating text on a path, using operators and effects to customize existing fonts, working with 3D text, and more.