Tag: Tutorial
-
Using the Picture Viewer in CINEMA 4D
Using the Picture Viewer in CINEMA 4D from Up and Running with CINEMA 4D Lite for After Effects
-
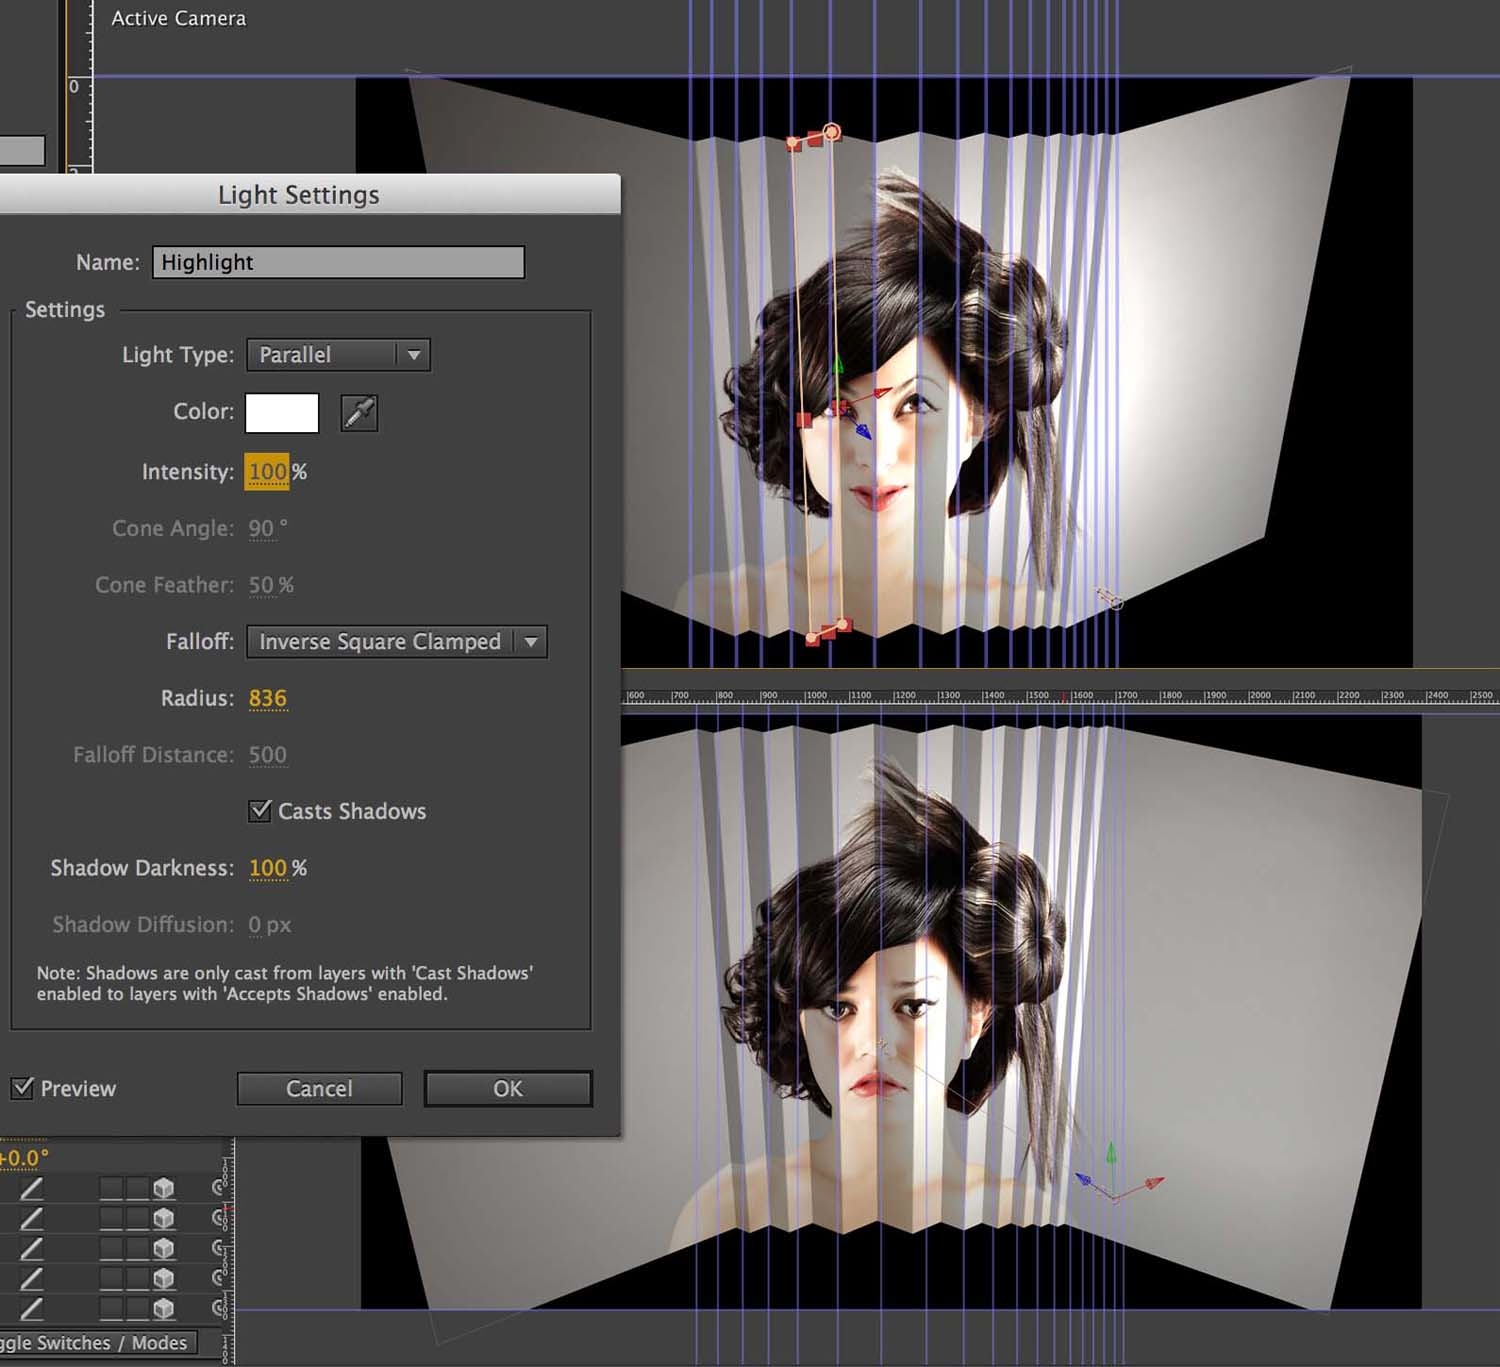
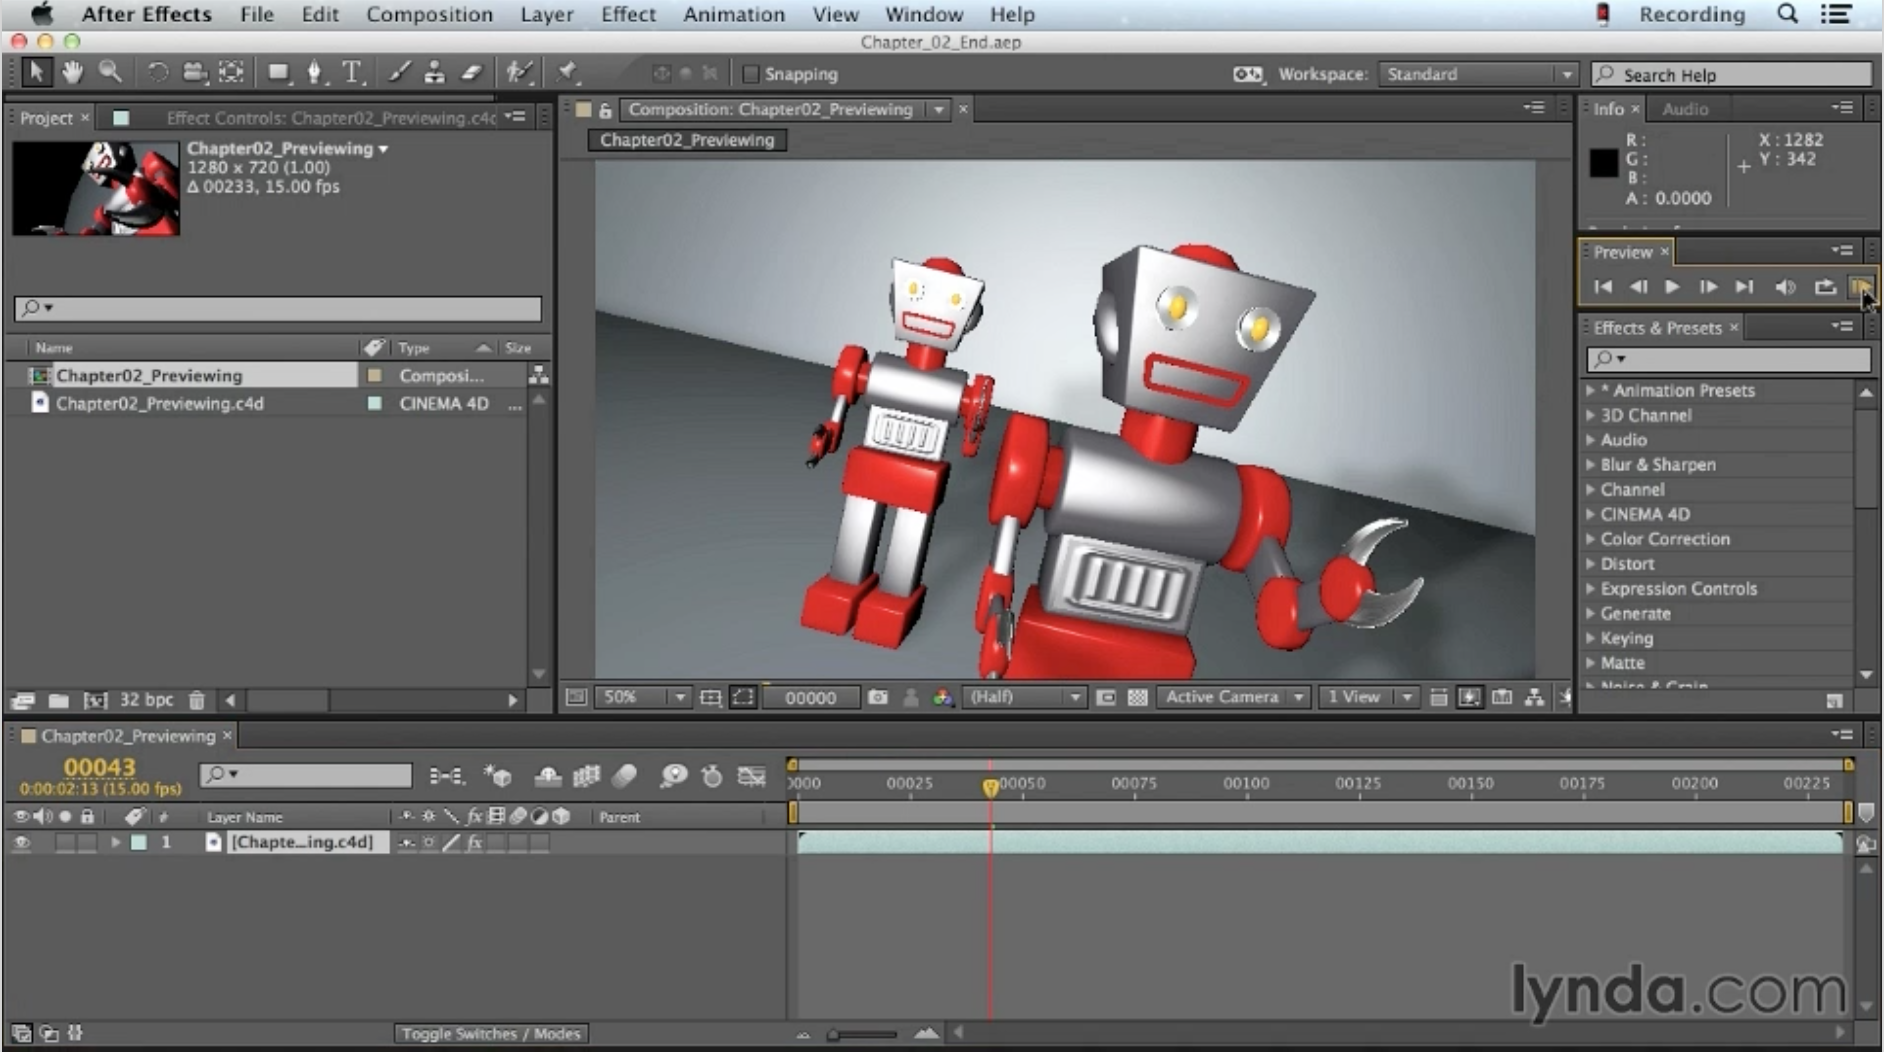
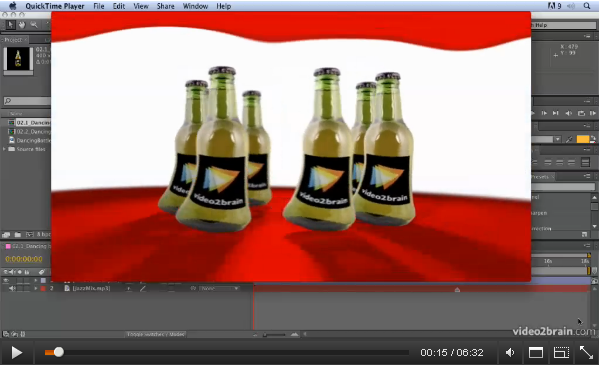
Paper Folding Animation
Approaches like this are really useful as they allow you to create footage and a quirky paper folding animation from very few source files. All I’ve used here are five images of these models – and one audio track. Here’s a three-part tutorial series that I’ve created at the Digital Arts website. Click on the…
-
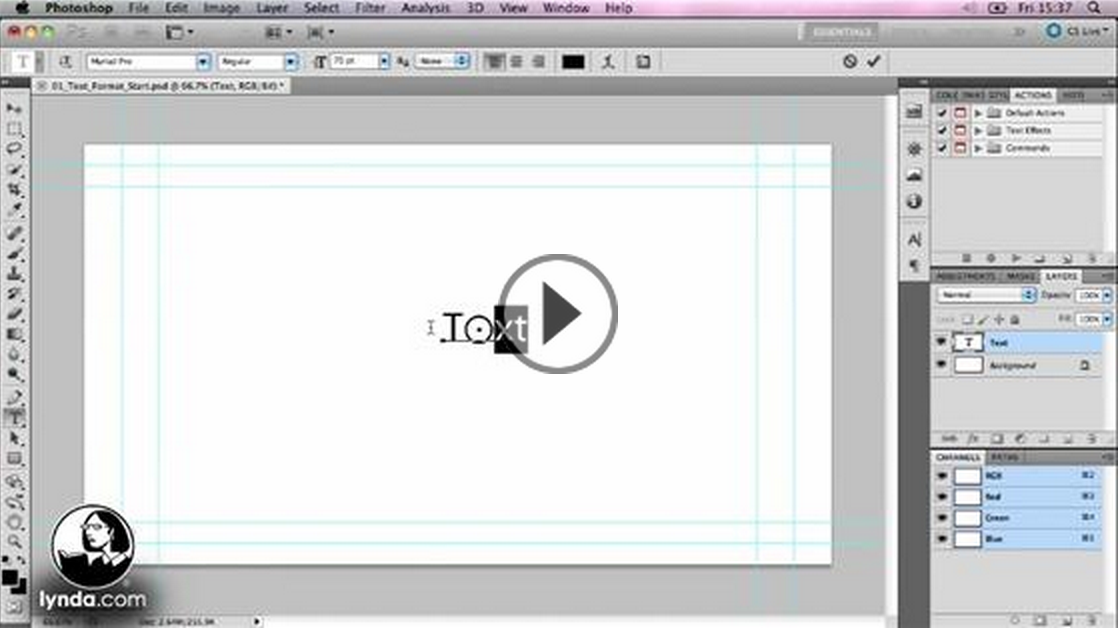
Kinetic Typography Techniques with After Effects
Kinetic Typography Kinetic typography is an art form that combines text and motion to express ideas in the form of animation designed to accompany spoken word or music. Join author, and motion graphic designer Angie Taylor as she shares her considerable knowledge of this form. Work along with her in this unique course as she…
-
Getting Started with After Effects Expressions
Expressions are like little scripts that trigger changes to layer properties, and they can save you time, make your work more flexible, and open up new creative possibilities. In this course, motion graphic designer Angie Taylor shows you how to make Adobe After Effects expressions work for you, starting with building expressions with the pick…
-
NAB 2014
I’m really happy to have been invited to speak at the Post Production World Conference at NAB 2014 in Las Vegas this year. You can find details about all of my sessions here.
-
Adobe CS6 Software Training Videos
This week, to celebrate the launch of Adobe’s Creative Suite I’ve released a whole host of new Adobe CS6 software training videos from new and forthcoming workshops produced with video2brain. So now you know why I’ve been relatively quiet for the last couple of months! The workshops will be out very soon but meanwhile we…
-
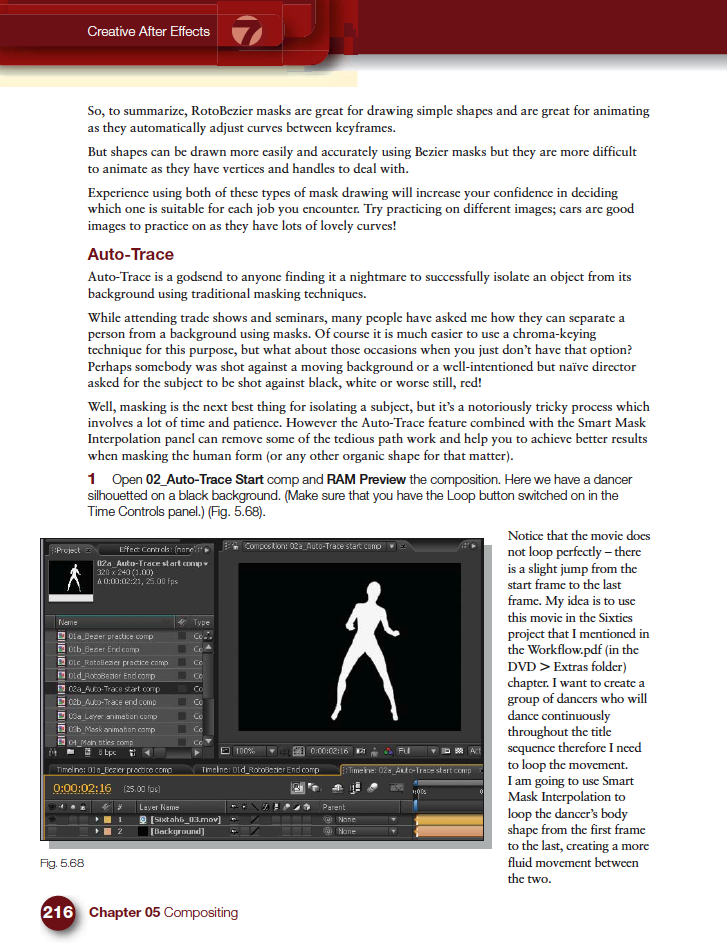
Mask Interpolation Tips
Masking is one of the features of After Effects that I get asked about the most during my After Effects training courses. People seem to have lots of problems animating masks in After Effects and I’ve noticed a few forum questions about it recently so I thought I’d provide some quick mask interpolation tips and links…
-
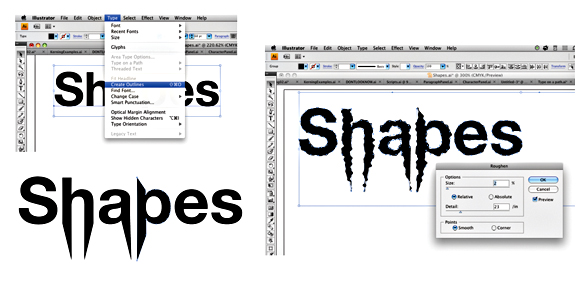
Creative Graphic Design: Essential Typography
Making good decisions is essential in typography — choosing the right typefaces, fonts, sizes, spacing and so on — can have a major impact on the quality of your designs. In this one-of-a-kind workshop, art director, illustrator, and motion graphic designer Angie Taylor introduces you to the essential principles of typography. After exploring the terminology,…
-
Tip of the Week
Animating Characters with the Puppet Tool from: Adobe After Effects CS5: Learn by Video. Welcome to this week’s Tip of the Week feature in a brand new video format. After Effects has great tools for character animation called the Puppet tool. The Puppet Pin tool places a mesh over your footage using the alpha channel.…
-

After Effects Light Wipe Tutorial
There was a a question today on Creative Cow about how to create a light wipe effect in After Effects. I wanted to help so I decided to put together a quick After Effects Light Wipe tutorial. This tutorial includes an After Effects project and an eight-minute video tutorial where I explain techniques used.
-
Typography Video Training
Creative Graphic Design: Essential Typography is a workshop on the principles of designing with text. I’ve just finished recording my latest typography video training workshop with the fantastic team at video2brain. It’s a workshop with a difference. If you want the salient points delivered to you quickly so you can get on with your work.…
-

Font Links for Kinetic Typography
I recently published my Kinetic Typography Techniques for After Effects course. In it I used a wide selection of fonts that are freely downloadable from various websites, just to make sure everyone following the tutorial could get access to the same fonts. Unfortunately one of the websites I recommended is no longer in operation. Below…