Tag: motion media
-
Read first chapter of Design Essentials book free
—
by
Did you know tat you can read the first chapter of my “Design Essentials for the Motion Media Artist” free on Amazon Kindle? Just click here and then follow the link on the right hand side of the page under “Kindle”.
-
Inspirational motion graphic designs
—
by
Here are some Inspirational motion graphic designs. During my talk on “Typography and Dynamic Text animation” in motion Graphics I showed several inspirational examples of opening title sequences that I have been inspired by throughout the years. Here’s a list of links to those movies. Big thanks especially to the “Art of the Title” website…
-
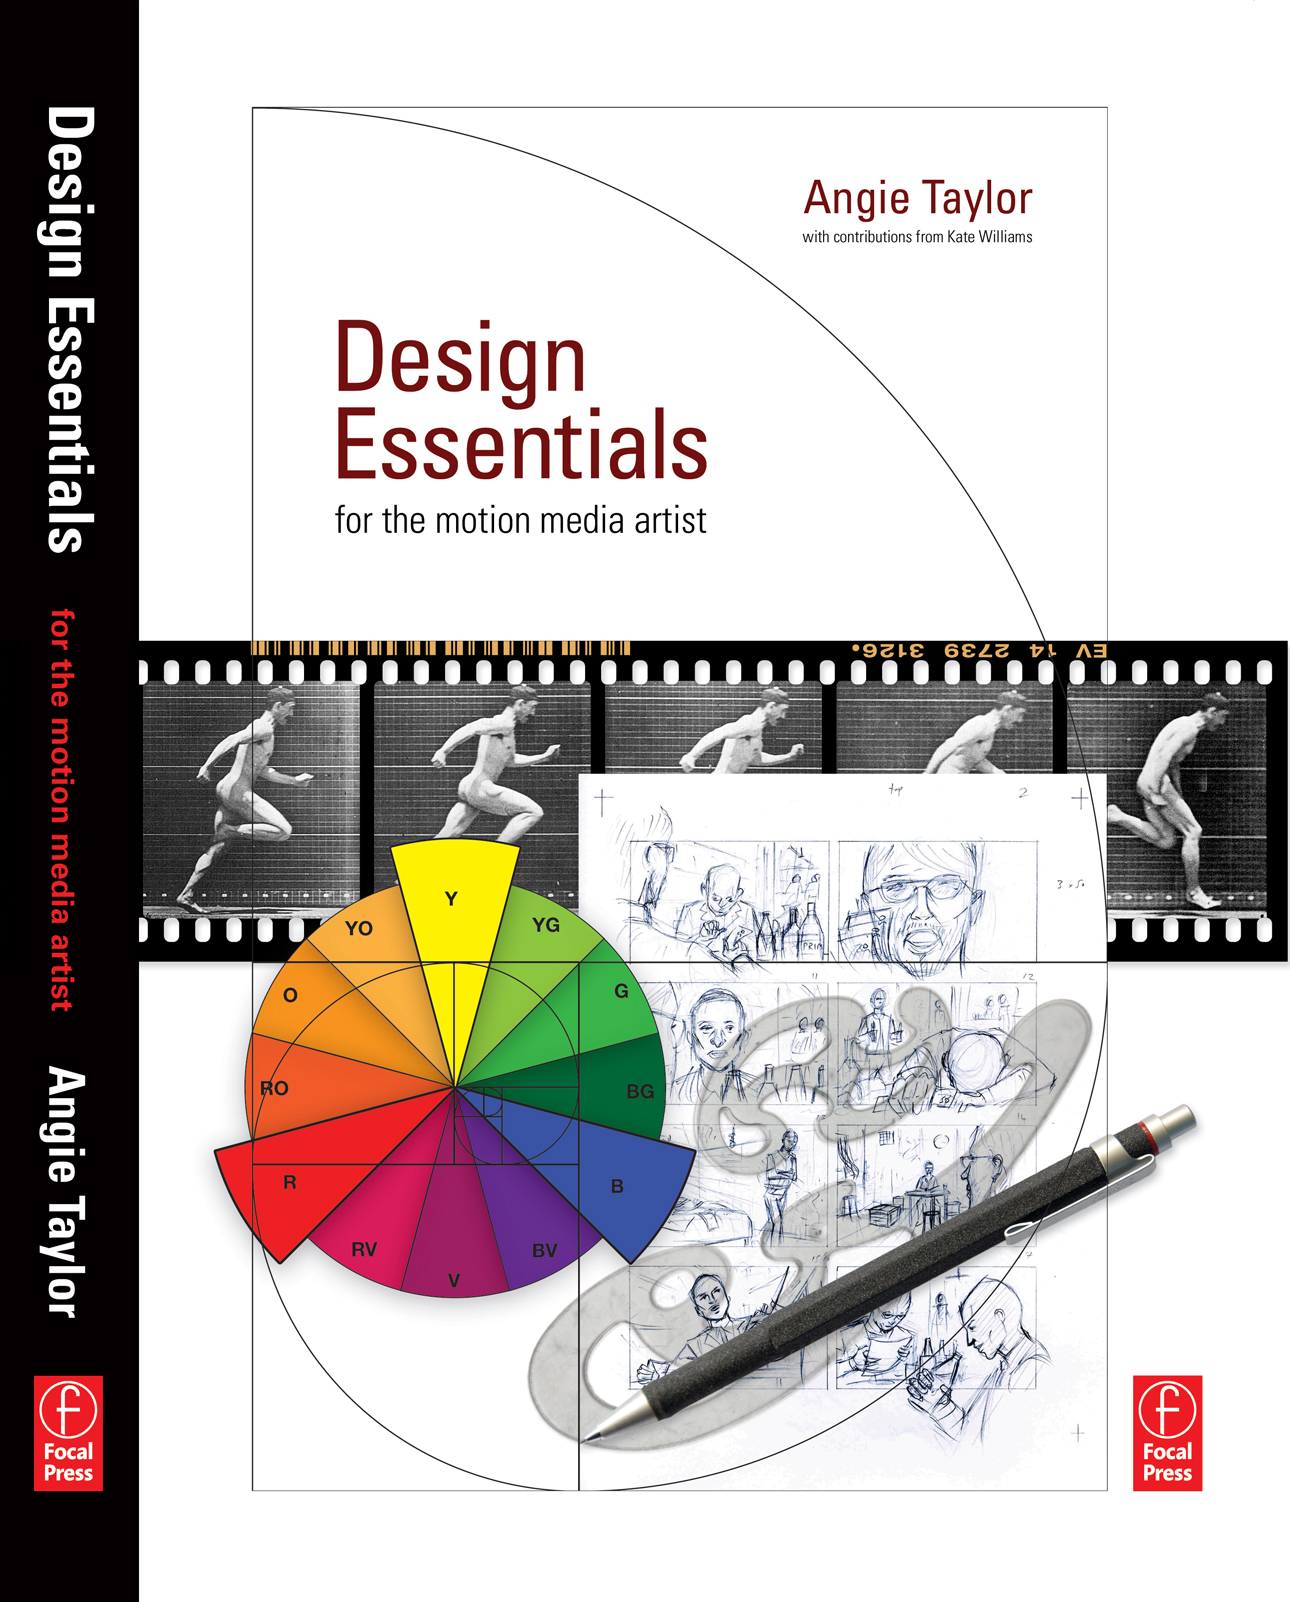
Design Essentials for the Motion Media Artist
—
by
The book is designed as a one-stop, getting-started guide for anyone new to motion graphic design who wants to get the basic principles under their belt so they can get started quickly, making better design decisions as they go. After reading this book you’ll be comfortable with the basic concepts and principles of design, animation…
-
Typography Video Training
—
by
Creative Graphic Design: Essential Typography is a workshop on the principles of designing with text. I’ve just finished recording my latest typography video training workshop with the fantastic team at video2brain. It’s a workshop with a difference. If you want the salient points delivered to you quickly so you can get on with your work.…
-
12 rules of animation
—
by
Digital Arts has featured – 12 Rules of Animation – an excerpt from my “Design Essentials for the Motion Media Artist” as their feature article this month. The article is now FREELY AVAILABLE on the Digital Arts website. Animation as we know it has been around since Horner invented the zoetrope in 1834. Since then animators…
-
Speaking at Flash on the Beach 2011
—
by
I was very pleased to get a call from John Davey, the organiser of the amazingly successful and entertaining “Flash on the Beach 2011” conference, asking me to speak at his event. It’s an annual conference, held in my home town of Brighton. Bringing together the best designers, developers and minds in the Flash, design…
-
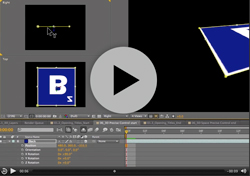
Understanding Axis Modes
—
by
After Effects can be a difficult application to learn simply because it offers you so may options. Many of these options are not immediately apparent to users so they muddle through using default settings when a better solution may be available to them. My job is to point you in the direction of these hidden…
-
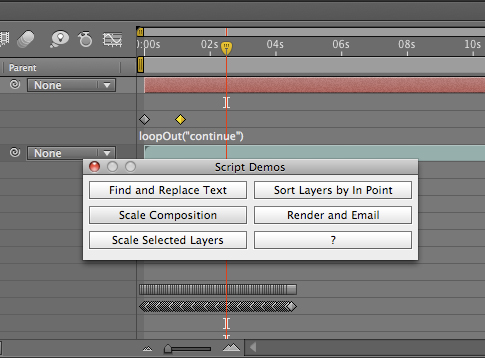
Uprezzing Comps
—
by
A question appeared on the Video Copilot website today about uprezzing old projects which can be a bit of a nightmare in AE. You can often find that layers positions get messed up and effects change appearance when you scale your comp. Some of the issues that you’ll come across are hard to avoid but…
-
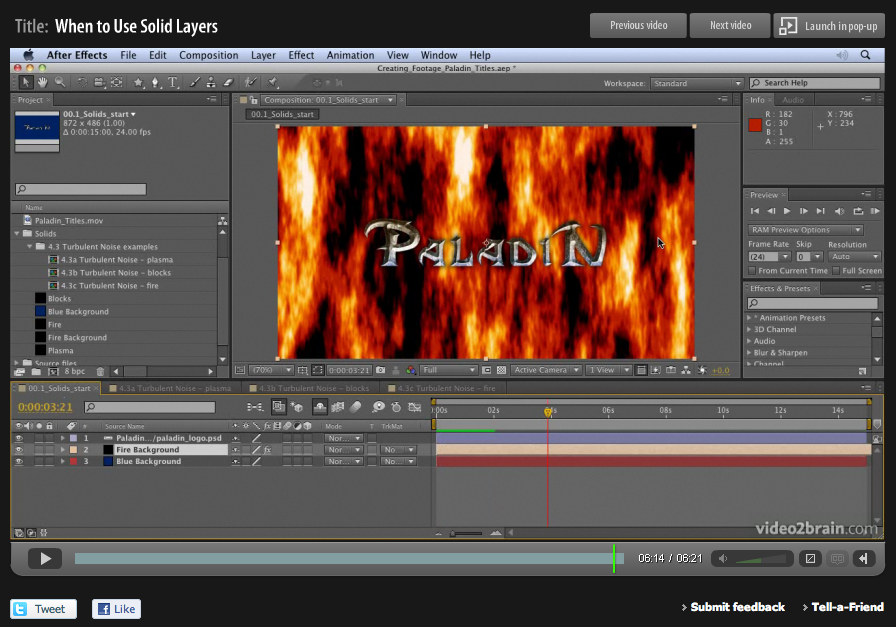
Basics on Solids in Adobe After Effects
—
by
When designing motion graphics in Adobe After Effects there are times you just need to create a plain old layer to apply effects to. Solids are just right for this purpose, and for lots of other uses in After Effects. This video is aimed at a basic level. It shows you how to create solid-color layers…
-
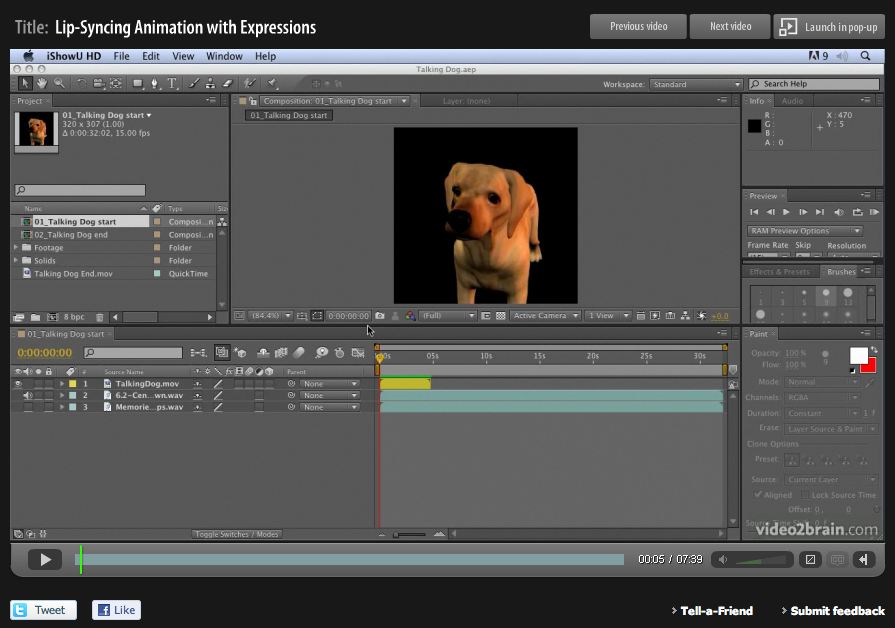
Lip Sync in After Effects
—
by
Lip-syncing is something that all animators will be asked to do at some point in their career. The following technique automates the process of lip sync in After Effects and uses only built-in features of Adobe After Effects – no extra software is required! This video tutorial is an updated version for Adobe CS5. Tutorial…
-
Reviews for Design Essentials for the Motion Media Artist
—
by
5.0 out of 5 stars on Amazon Design Essentials for the Motion Media Artist: A Practical Guide to Principles & Techniques, By m franks – See all my reviews I found this to be a really great book and is suitable for anyone who works or has an interest in motion graphics or animation. It…
-
Creating a Cityscape in 3D
—
by
I want to share an example of one of my tutorials that I’m very proud to say inspired a great piece of work, “Black Day to Freedom” by the amazing Rob Chiu. I met Rob after watching a very inspiring talk he gave at the Flash on the Beach conference a few years back. I…