Tag: motion Graphics
-
Uprezzing Comps
A question appeared on the Video Copilot website today about uprezzing old projects which can be a bit of a nightmare in AE. You can often find that layers positions get messed up and effects change appearance when you scale your comp. Some of the issues that you’ll come across are hard to avoid but…
-
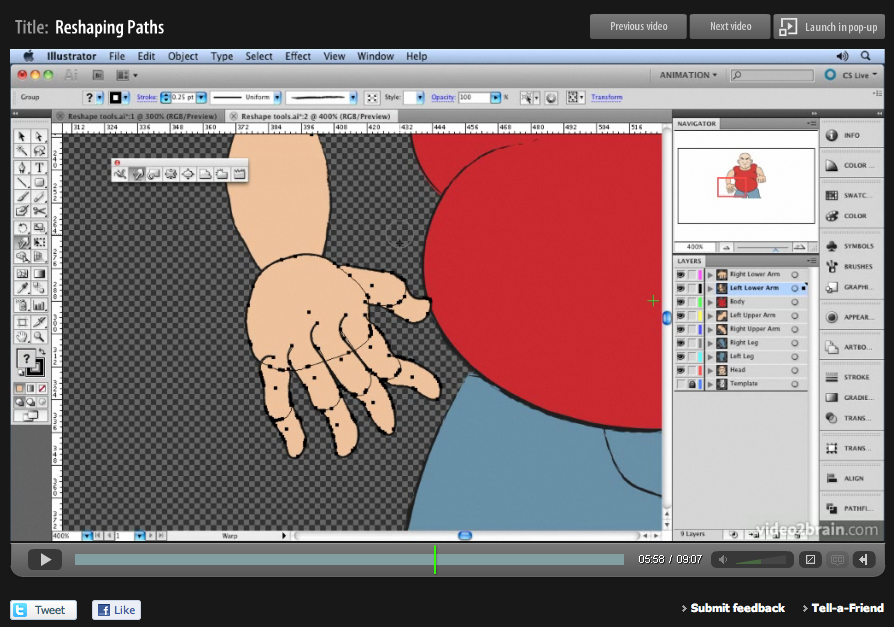
‘Sculpting’ paths in Adobe Illustrator
Here’s another free tutorial from my first venture into making video tutorials for Adobe Illustrator. My tutorials are probably what you’d call non-standard! I’m not going to teach you how to ‘the cool look’ that we’ve all seen a million times before, that doesn’t really interest me, and there are plenty of other websites that…
-
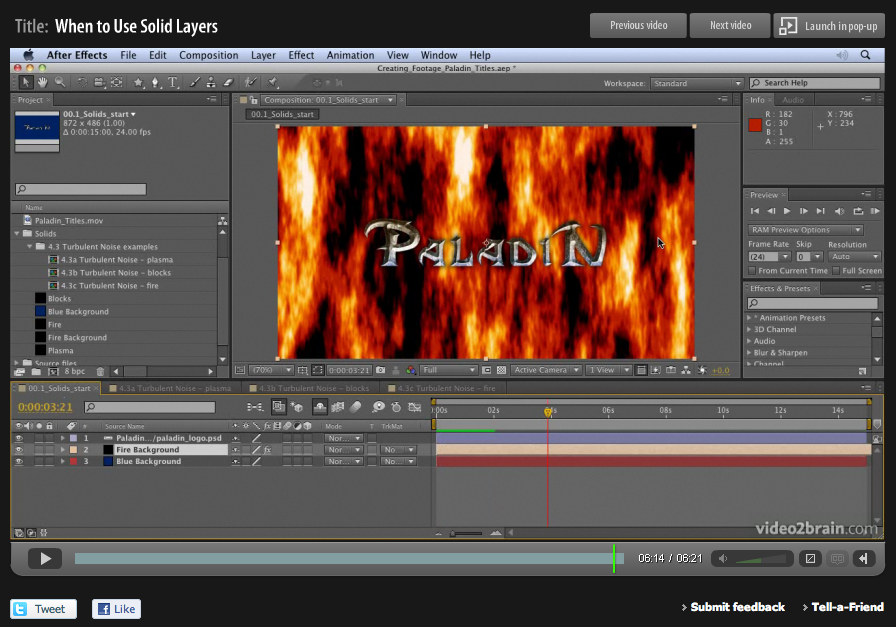
Basics on Solids in Adobe After Effects
When designing motion graphics in Adobe After Effects there are times you just need to create a plain old layer to apply effects to. Solids are just right for this purpose, and for lots of other uses in After Effects. This video is aimed at a basic level. It shows you how to create solid-color layers…
-
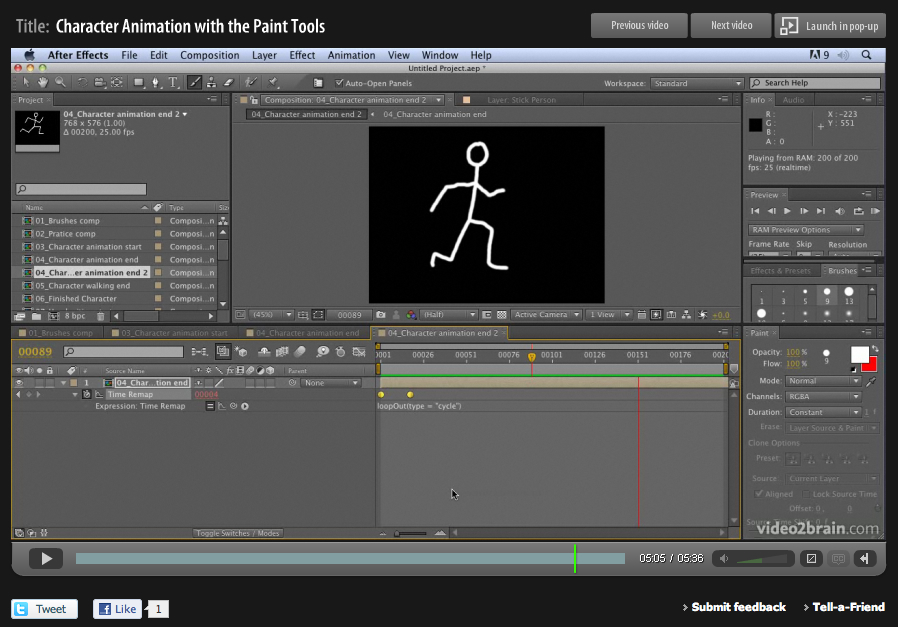
Hand-drawn animation with After Effects Paint tools
Week four of 2011 brings my fourth FREE Giveaway Tutorial. This tutorial comes from my Adobe After Effects CS5 Learn by Video DVD from video2brain. The paint tools in After Effects are usually used for cloning or filling in mattes, but they can also be used to create stop-motion-style animation. In this movie you’ll see how…
-
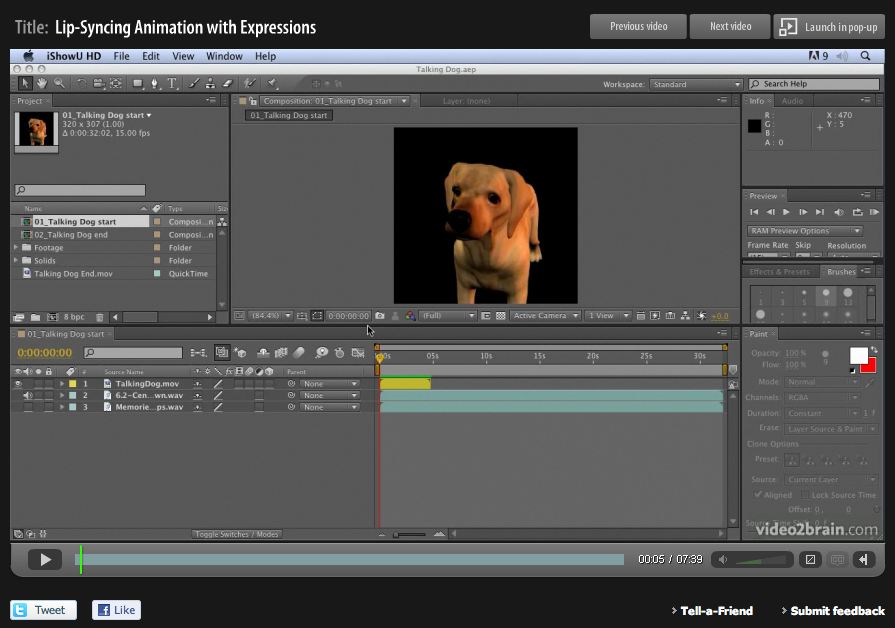
Lip Sync in After Effects
Lip-syncing is something that all animators will be asked to do at some point in their career. The following technique automates the process of lip sync in After Effects and uses only built-in features of Adobe After Effects – no extra software is required! This video tutorial is an updated version for Adobe CS5. Tutorial…
-
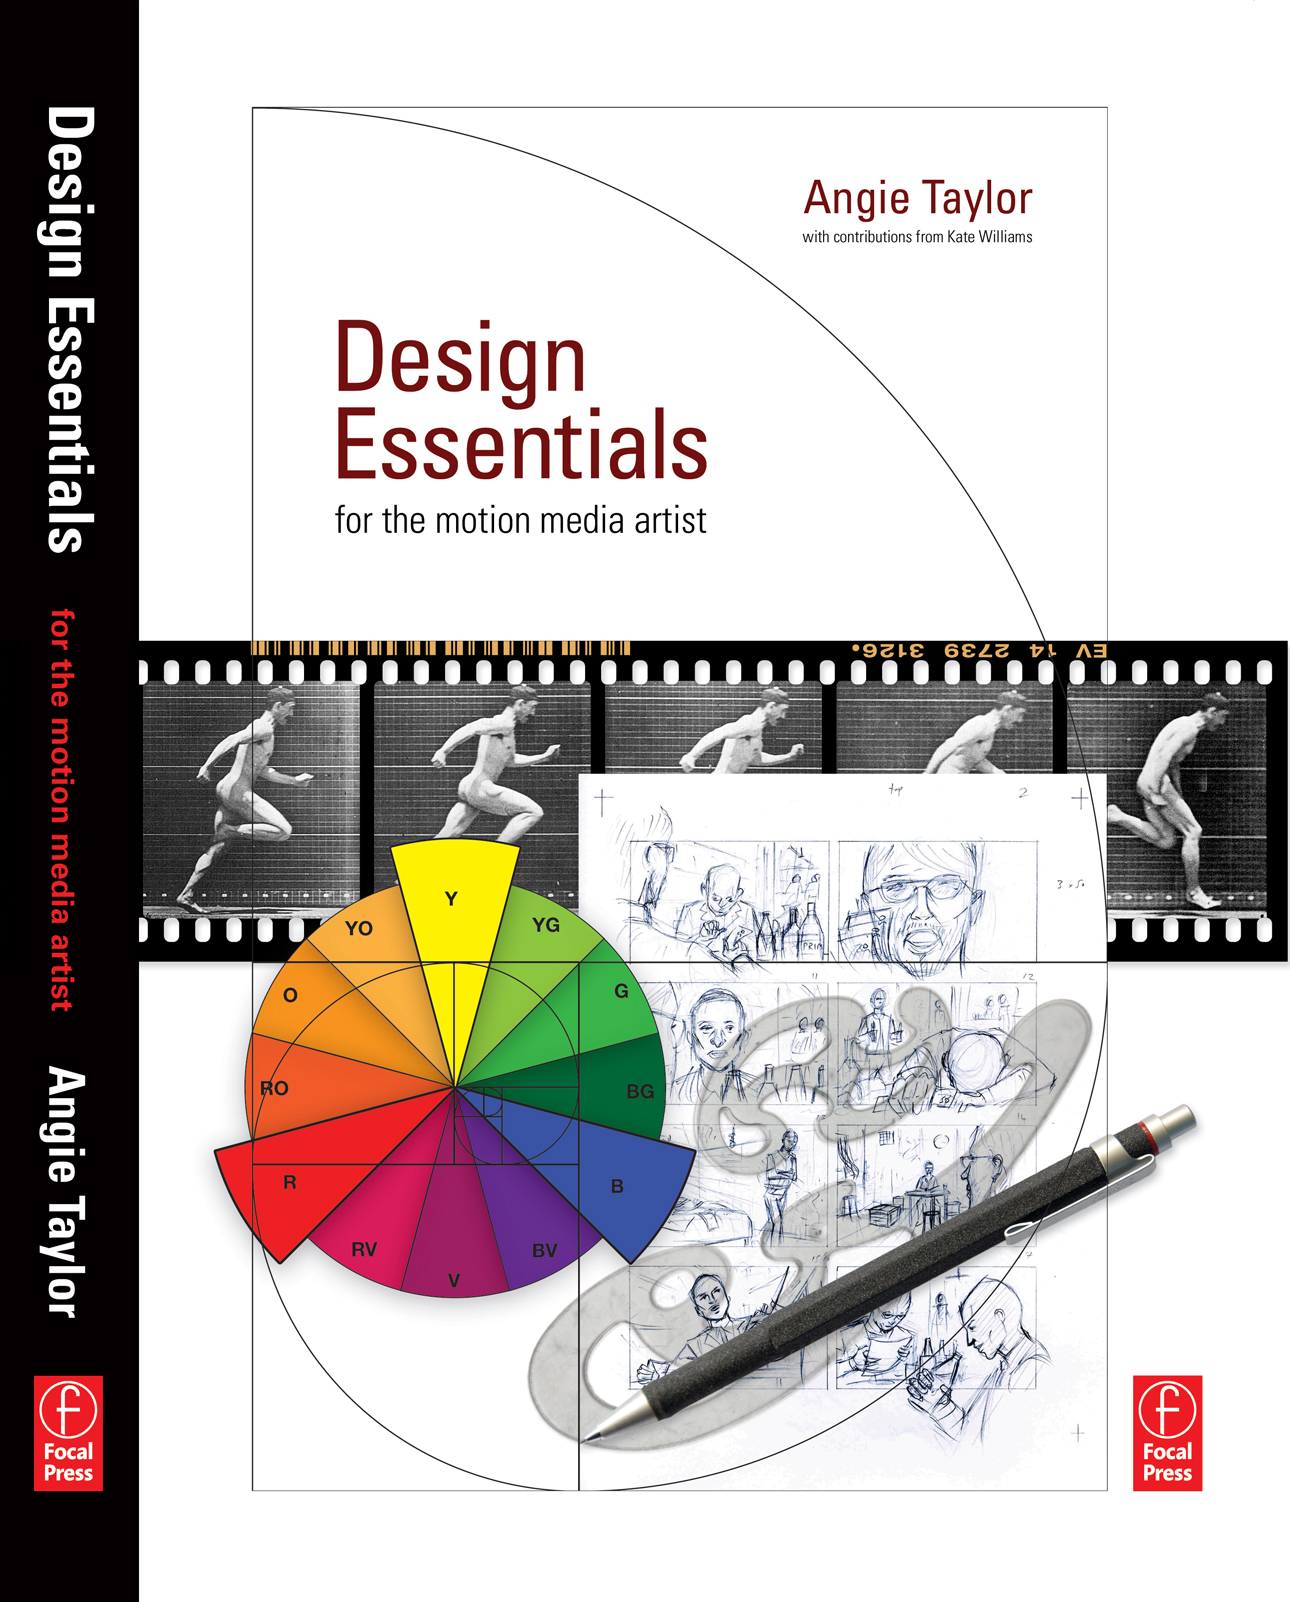
Reviews for Design Essentials for the Motion Media Artist
5.0 out of 5 stars on Amazon Design Essentials for the Motion Media Artist: A Practical Guide to Principles & Techniques, By m franks – See all my reviews I found this to be a really great book and is suitable for anyone who works or has an interest in motion graphics or animation. It…
-
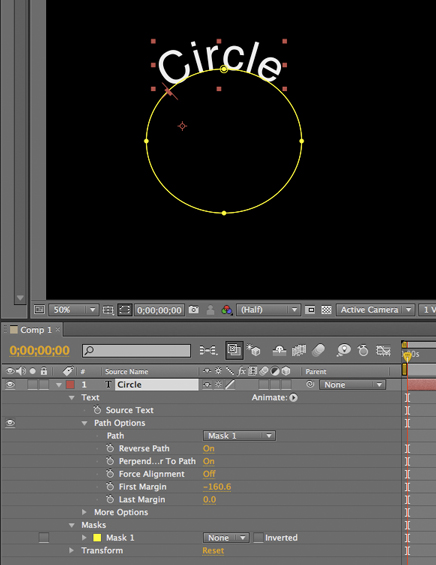
Tip: Wrapping text around a circle in After Effects
I saw a post on the After Effects mailing list today asking how to wrap text around a circle in After Effects. Here’s how it’s done; 1) Create a text layer with the text you want. 2) Select the layer and then, with the Ellipse tool, draw a circular Mask on the Text layer. 3)…
-
Creating a Cityscape in 3D
I want to share an example of one of my tutorials that I’m very proud to say inspired a great piece of work, “Black Day to Freedom” by the amazing Rob Chiu. I met Rob after watching a very inspiring talk he gave at the Flash on the Beach conference a few years back. I…
-

Free tutorial – creating a 1960s retro opening title sequence
My dear friend and esteemed and talented After Effects aficionado, Aharon Rabinowitz has posted my 1960’s retro “Pop-art” tutorial up on Red Giant TV. I actually recorded it in the 1960’s but it’s taken this long for technology to catch up to a stage where it can broadcast a whole hour (almost) of FREE After…
-

Adobe After Effects Training DVD and book
Well, it’s all happening this week! My new book, “Design Essentials for the Motion Media Artist” finally went on sale. As well as the book, I also have a new training DVD on the way which I worked on with the amazing Todd Kopriva from Adobe. As a little taster of what’s to come is…
-
Digital Arts Online Tutorials
Free tutorials, created for Digital Arts magazine Master Particles in Adobe After Effects Shatter and Card Dance are two of After Effects CS4’s most underrated particle effects. Both were created by Brain Maffitt’s Atomic Power Corporation, before being bought by Adobe to include in After Effects. Both Card Dance and Shatter allow you to divide…
-
Copyright or wrong?
I’ve been busy putting the finishing touches to my forthcoming book, “Design Essentials for the Motion Media Artist“. It’s funny, I’ve written books before. Software books, teaching people how to use Adobe After Effects to be specific. I was commissioned to write these books, at the time there were very few books on the subject…