Tag: cs5
-
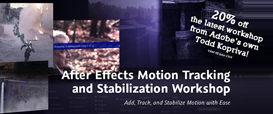
20% off new Todd Kopriva After Effects workshop
This week I’m giving a 20% discount to anyone who wants to buy the fantastic new workshop on Motion Tracking & Stabilisation by Todd Kopriva which is now available to buy from my video training store. Just enter MOTION into the Coupon Code box when buying from my shop. It’s valid till July 15th 2011.…
-
Understanding Axis Modes
After Effects can be a difficult application to learn simply because it offers you so may options. Many of these options are not immediately apparent to users so they muddle through using default settings when a better solution may be available to them. My job is to point you in the direction of these hidden…
-

Premiere Pro – real-time for After Effects?
Premiere Pro – real-time for After Effects – Quite a question!Well this week I hope to answer it.
-
Uprezzing Comps
A question appeared on the Video Copilot website today about uprezzing old projects which can be a bit of a nightmare in AE. You can often find that layers positions get messed up and effects change appearance when you scale your comp. Some of the issues that you’ll come across are hard to avoid but…
-
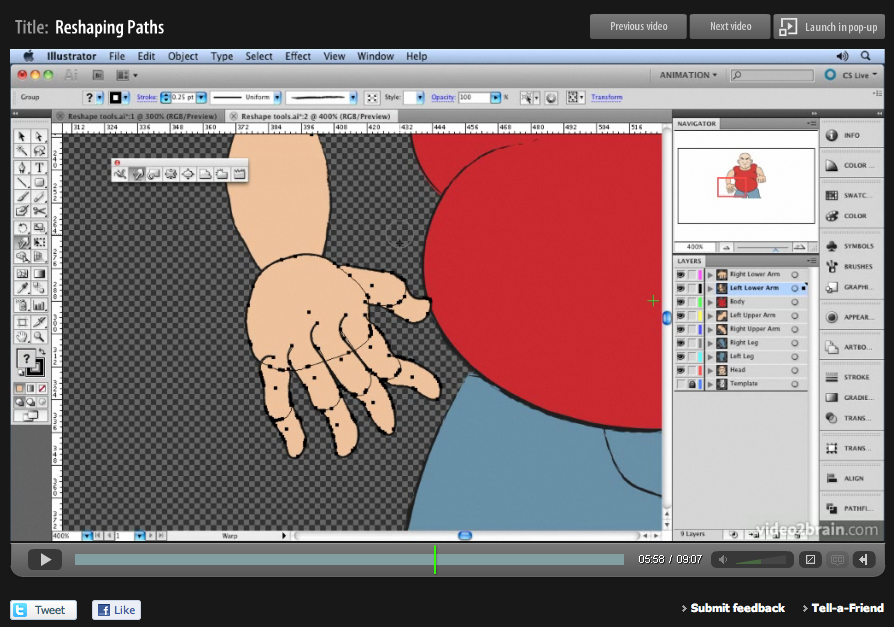
‘Sculpting’ paths in Adobe Illustrator
Here’s another free tutorial from my first venture into making video tutorials for Adobe Illustrator. My tutorials are probably what you’d call non-standard! I’m not going to teach you how to ‘the cool look’ that we’ve all seen a million times before, that doesn’t really interest me, and there are plenty of other websites that…
-
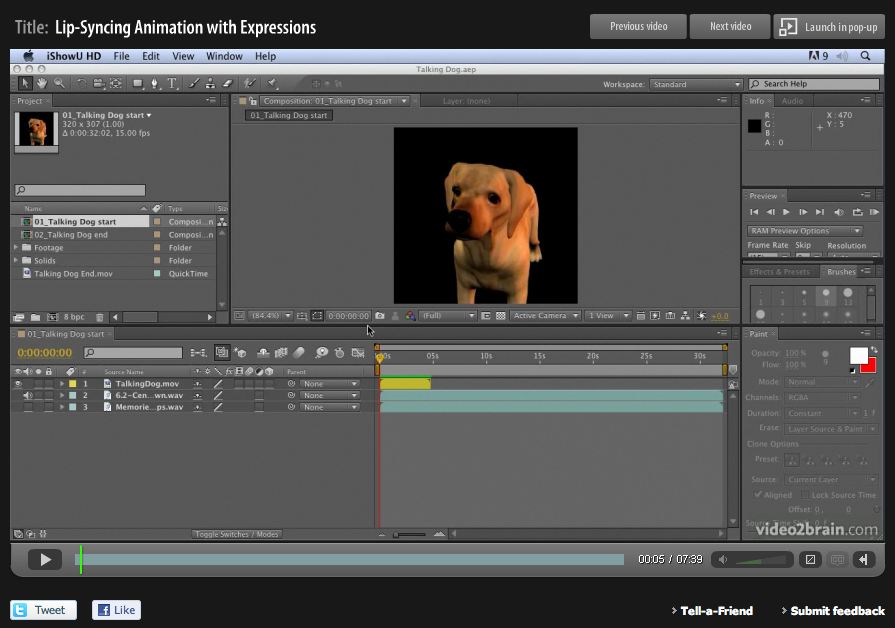
Lip Sync in After Effects
Lip-syncing is something that all animators will be asked to do at some point in their career. The following technique automates the process of lip sync in After Effects and uses only built-in features of Adobe After Effects – no extra software is required! This video tutorial is an updated version for Adobe CS5. Tutorial…
-
Creating a Cityscape in 3D
I want to share an example of one of my tutorials that I’m very proud to say inspired a great piece of work, “Black Day to Freedom” by the amazing Rob Chiu. I met Rob after watching a very inspiring talk he gave at the Flash on the Beach conference a few years back. I…
-

Free tutorial – creating a 1960s retro opening title sequence
My dear friend and esteemed and talented After Effects aficionado, Aharon Rabinowitz has posted my 1960’s retro “Pop-art” tutorial up on Red Giant TV. I actually recorded it in the 1960’s but it’s taken this long for technology to catch up to a stage where it can broadcast a whole hour (almost) of FREE After…
-
Beauty Box for Photoshop released!
Stop press! Digital Anarchy have released Beauty Box Photo for Photoshop. This is fantastic news, means I don’t have to process all my photos in AE anymore, I can run exactly the same software directly in Photoshop! It provides easy digital retouching for Photoshop and Photoshop Elements users. It allows you to quickly and easily…
-
Angie’s software favourites of the month
There are a few nice pieces of software around at the moment that I want to share with you. The first is Beauty Box from Digital Anarchy. An incredible plug-in for video applications (like After Effects, Premiere Pro and Final Cut Pro). If you shoot interviews or wedding videos and don’t have a good make…