 Masking is one of the features of After Effects that I get asked about the most during my After Effects training courses. People seem to have lots of problems animating masks in After Effects and I’ve noticed a few forum questions about it recently so I thought I’d provide some quick mask interpolation tips and links here for you today.
In one of my previous newsletter (you can subscribe here) we looked at how you can adjust the first vertex of a mask to help control the animation.
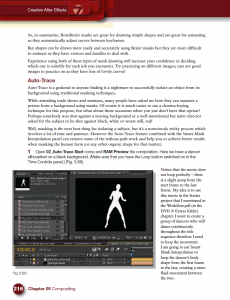
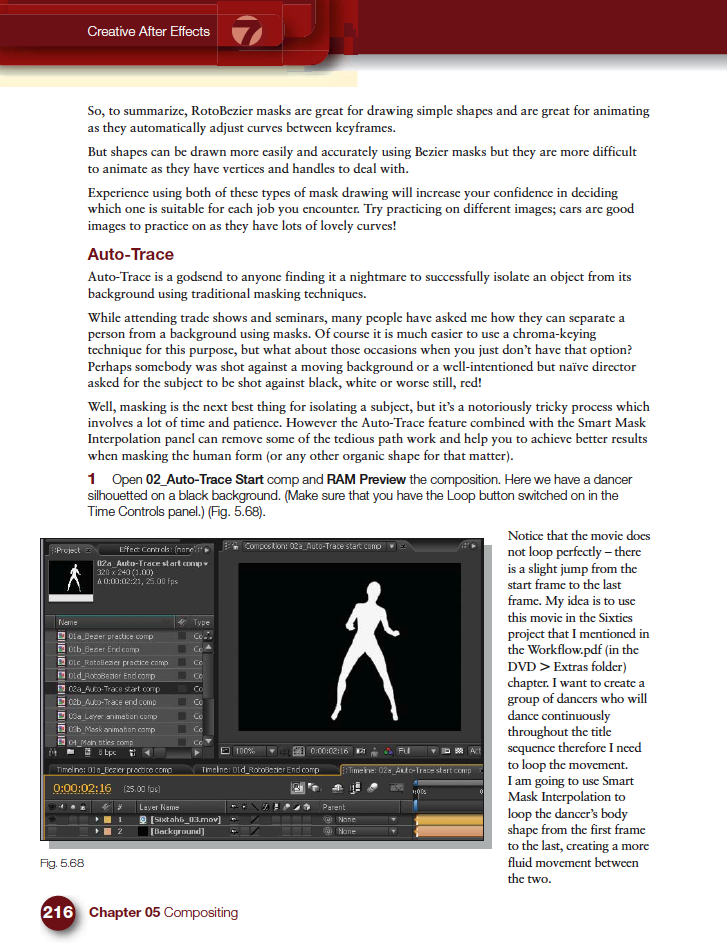
Here’s an excerpt from my Creative After Effects book that shows how to use Auto- Trace and Smart Mask Interpolation to help animate complicated Mask shapes.
I also have a brand new course in my video store from the amazing Jeff Foster. Advanced Compositing, Tracking, and Roto Techniques with After Effects has amazing tips, here are some free excerpts;
Multiple Moving Elements/Layers
Check out our subscription offers for free access to all Jeff’s courses plus mine and all the other trainers at video2brain.
And here are additional tips that can help you when animating masks.
- Remember that you can apply motion blur to a masked layer, at a low setting this will also add a little more smoothness to the interpolation.
- When animating anything in After Effects, but particularly mask shapes, it pays to always start by setting the extreme points of the animation. For example, if your animation is 10-second long, set a keyframe at the very beginning and another at 10 seconds. Then go in between to 5 seconds and make any necessary changes. Once this is done, go to 2.5 seconds, set a keyframe there, then to 7.5 seconds and set another there. Continue positioning the Timemarker half-way in between the pairs of keyframes to set new ones until no other changes are necessary. Using this method will ensure that you add the least amount of keyframes necessary for the animation, the fewer keyframes, the less work it is to edit!
- Here’s a link to the Masking section of the After Effects Online Help.

Leave a Reply
You must be logged in to post a comment.