I saw a post on the After Effects mailing list today asking how to wrap text around a circle in After Effects. Here’s how it’s done;
 1) Create a text layer with the text you want.
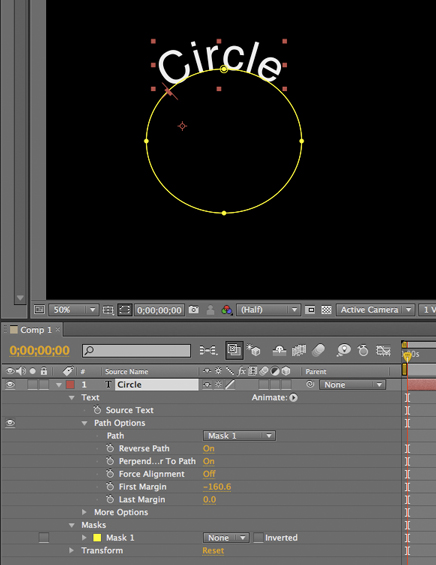
2) Select the layer and then, with the Ellipse tool, draw a circular Mask on the Text layer.
3) Open the Layer in the Timeline by clicking it’s disclosure triangle and then open the ‘Text’ section too.
4) Open the ‘Path Options” and in there you’ll see a drop down menu under ‘Path’ where you can select your Mask, the text should now wrap around the circle.
5) You can use the controls under ‘Path’, and the controls on the selected path in the Composition panel to adjust it to suit.
Tip! Remember to save it as a preset for future jobs so you don’t have to continuously repeat the process each time you need a circular path text effect!
Tip! There are also a load of free Animation Presets that create text on paths in the Effects and Presets panel, or you can Browse them in Bridge to get a real preview of what they look like before applying them.

I want to share an example of one of my tutorials that I’m very proud to say inspired a great piece of work, “Black Day to Freedom” by the amazing Rob Chiu. I met Rob after watching a very inspiring talk he gave at the Flash on the Beach conference a few years back. I approached him after the talk to tell him how much I enjoyed it and was blown away when he told me that the movie he had shown was partly inspired by my own tutorials. We have since kept in touch and Rob has contributed to my latest book, Design Essentials for the Motion Media Artist.
I’ve recently recorded the tutorial on video and want to share it with you. I’m in the process of updating some of my most popular demos and tutorials for my video2brain Adobe After Effects CS5 Learn by Video DVD.I’m featuring one FREE tutorial per week for the next five weeks here in my blog. If you like these free tutorials you can also buy the DVD here.
My 3D Cityscape tutorial is one that I’ve had great feedback on and it really was one of the biggest compliments when an artist I admire told me that this demo had inspired some of his own work. Rob Chiu (AKA The Ronin) is a well respected live action commercial director and photographer. Black Day to Freedom was one of his first films, an animation entirely built in After Effects. This was actually inspired at least technically by this tutorial where a very basic city is built with skyscrapers and lights. Rob took this as a starting point and created his own world to help anchor the story. You can find out more about Rob on his website or you can read the foreword he wrote and see exmples of his work in my latest book, Design Essentials for the Motion Media Artist.
The tutorial was developed co-written with myself and my good friend, Paul Tuersley, visual effects artist and After Effects guru of the highest order. Paul has worked on various feature films including Kick Ass, Angels and Demons and 10,000 BC. Paul came up with the initial idea to build a real 3D environment from basic flat layers within After Effects. This technique has now been used widely in a variety of different ways both in Motion Graphic designs and animation projects. Paul is also the moderator at AE Enhancers, a fabulous resource for After Effects artists that you should also check out.
In this updated tutorial you’ll see how easy it is to create graphics from absolutely nothing, directly within After Effects. You’ll also see how to create 3D environments and build scenes for your animations. I’ve also included the project file you’ll need to go through the tutorial here 3D_City.aep. After going through the tutorial I’d love to see examples of what you’ve done with it so please post links in the comments section.

Well, another year comes to an end and the holidays are about to begin. What better way to spend your time off than sitting back comfortably and allowing me to entertain you with some of my latest After Effects CS5 tutorials?
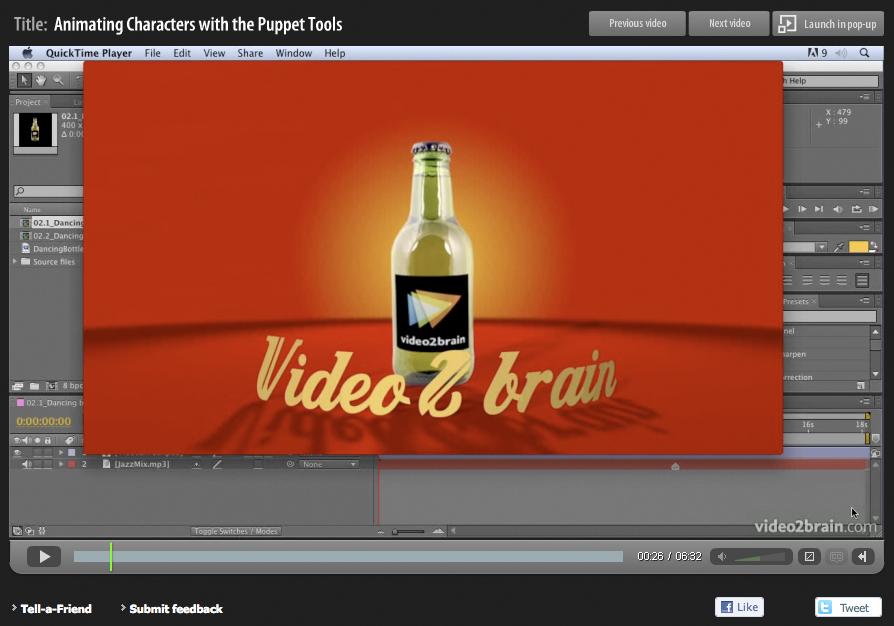
Here’s a free tutorial movie for you, taken from the “Jumpstarts” section of the video2brain After Effects CS5 Learn by Video DVD that I created this year in collaboration with Todd Kopriva from Adobe. You’ll also find lots of other free tutorials alongside this one so please enjoy them and let us know what you think. You can read what Eran Stern said about our DVD training here in his blog.

After Effects has great tools for character animation called the Puppet tools. The Puppet Pin tool places a mesh over your footage using the alpha channel. You can add points to this mesh that allow to distort it and animate it, providing some really natural movement for your animations and motion graphics projects.
The Puppet tool is as fun to use as a kids toy so get stuck in, have some fun and learn how to use this great set of tools to create your own fun animations.
You can also find links to lots of other free tutorials and an extensive reading list right here on my website.
Happy Holidays!

Angie Taylor

Promote your Page too


This complete training program offers an extraordinary value, combining 14 hours of video instruction with a 120-page full-color guide to teach you the fundamentals of Adobe After Effects CS5, as well as the basic principles of motion graphics and visual effects. You’ll get in-depth coverage of the After Effects interface and the latest features in CS5, as well as rich tutorials on importing assets, creating opening titles, manipulating movies, designing 3D graphics and character animation, and much more. Interactive quizzes throughout the course reinforce what you’ve learned.You can also read more about this product on my blog.
Buy ReviewsResources
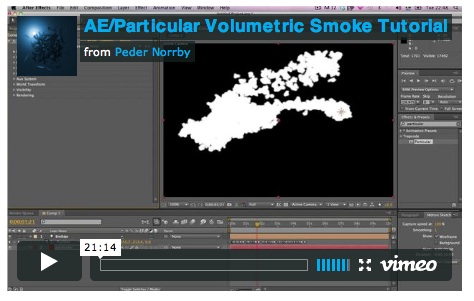
 I’ve just watched a great After Effects tutorial, made by my good friend, the great Peder Norby of Trapcode fame. He’s dome a wonderful job of teaching you how to get the best volumetric smoke effects using Particular.
I love this tutorial as it was totally improvised so it shows how he had to experiment to get the settings right. Check out his tutorial and if you don’t already own Particular, you can also download a free trial of Trapcode Particular from the Red Giant website so you can try it out.
I also stumbled upon a very kind and generous offer from Andrew Kramer at Video Copilot. Andrew is giving away 100 MB of stock footage free this month to say a big thanks to his followers. Nice one Andrew! 🙂

 Tutorial for Adobe After Effects")