Category: Motion Graphics
-
Enhance Vimeo Videos Instantly
Vimeo’s new Looks Enhancer enhances Vimeo videos instantly with professional video effects. Try these new looks free on your videos for the next 30 days.
-
Inspirational motion graphic designs
Here are some Inspirational motion graphic designs. During my talk on “Typography and Dynamic Text animation” in motion Graphics I showed several inspirational examples of opening title sequences that I have been inspired by throughout the years. Here’s a list of links to those movies. Big thanks especially to the “Art of the Title” website…
-
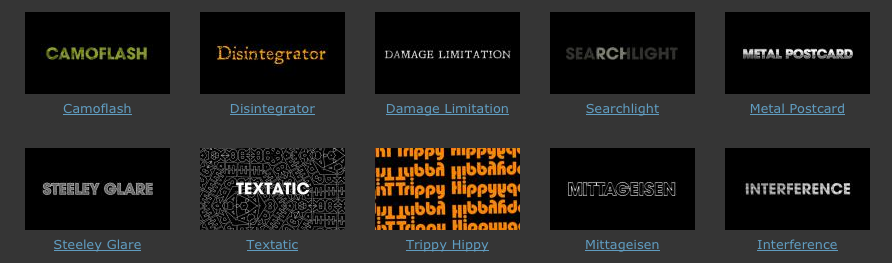
Textonomy Presets for Sapphire Edge
My brand new Textonomy Presets for Sapphire Edge are now available from the Genarts FX Central Website. OK, sometimes you need text, but no-one says it has to be boring. These ten effect presets, designed for text will have your viewers sitting up and taking notice. Camoflash A Camouflage-style of pattern is applied to text…
-
Vibrant Vignette Presets for Sapphire
This week saw the release of my latest collection of Vibrant Vignette Presets for Sapphire. This collection features a weird and wonderful collection of vignettes in an attempt to prove that vignettes don’t always need to be black and circular.
-

Adobe After Effects CS6 – Learn by Video
Adobe After Effects is an incredibly deep and rich set of tools for creating motion graphics, manipulating movies, adding visual effects, and more. In this Learn by Video course, created in partnership with our friends at Peachpit Press, experts Todd Kopriva and Angie Taylor teach you how to make the most of this powerful software,…
-

Try Artbeats’ 3D footage FREE!
Download your free HD S3D clips today! Artbeats, your source for royalty-free stock footage, is offering everyone a free HD clip from their new Stereoscopic 3D (S3D) library. If you’ve been wanting to try your hand at working in 3D motion, this free download is the perfect opportunity to test it out. For those of…
-
Free After Effects & Premiere Pro Performance Workshop
I’m excited to be able to offer a free top-up course on my website to all my lovely visitors. In this free course, Adobe Technical Support Lead Todd Kopriva offers dozens of tips for optimizing Premiere Pro, After Effects, your operating system, your computer, and your workflow for maximum speed and performance. He makes recommendations…
-
Post-Digital Aesthetics make a welcome return
I’ve been speaking at events for a long time, in fact I can’t believe how long, after fifteen years now I’m classed as an industry veteran! (I’m not sure whether to be happy or sad about that one!). It’s been great to be in this position as I’ve seen the industry develop both technically and…
-
20% off new Todd Kopriva After Effects workshop
This week I’m giving a 20% discount to anyone who wants to buy the fantastic new workshop on Motion Tracking & Stabilisation by Todd Kopriva which is now available to buy from my video training store. Just enter MOTION into the Coupon Code box when buying from my shop. It’s valid till July 15th 2011.…
-
Speaking at Flash on the Beach 2011
I was very pleased to get a call from John Davey, the organiser of the amazingly successful and entertaining “Flash on the Beach 2011” conference, asking me to speak at his event. It’s an annual conference, held in my home town of Brighton. Bringing together the best designers, developers and minds in the Flash, design…
-
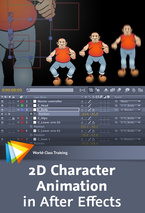
Free video training & discounted classes
Tweet I’m giving away lots of goodies this week. In this blog I’m offering you some free sample movies from my ‘2D Character Animation in After Effects’ workshop from video2brain. I’m also pleased to announce some fantastic discounts on my training courses in London in March. A one-off funding offer means that there’s currently a…
-
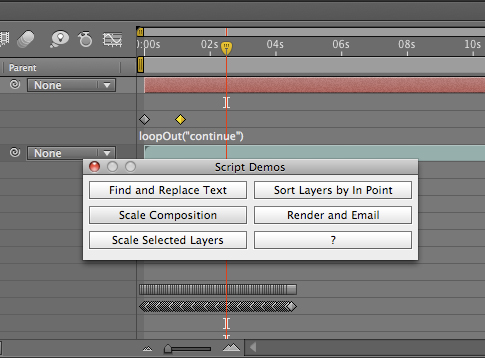
Uprezzing Comps
A question appeared on the Video Copilot website today about uprezzing old projects which can be a bit of a nightmare in AE. You can often find that layers positions get messed up and effects change appearance when you scale your comp. Some of the issues that you’ll come across are hard to avoid but…