My Vibrant Vignette Presets for Sapphire were released this week. This collection features a weird and wonderful collection of vignettes in an attempt to prove that vignettes don’t always need to be black and circular.
These vignettes which will give your footage extra atmosphere, extra mood, extra pop. Use them as they are or adapt them to fit your own designs.
These are free too all FX Central users. If you own Sapphire for any of the following hosts you can open the preset browser, login to FX Central and get working with them right away, on your own footage.
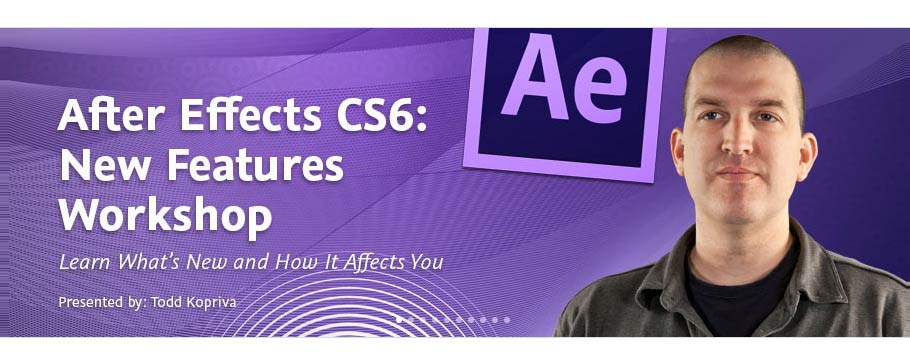
It’s finally here, my brand new After Effects CS6 – Learn by Video course. I worked on this course with Adobe’s Todd Kopriva who I just love working with. Together we teamed up to provide a good mix of technical and creative training in our favorite software application. We hope you enjoy it. Here’s an intro to the course from us both.
This Learn by Video course offers in-depth training on the interface, workflow, and features of Adobe After Effects CS6. If you subscribe to my newsletter you can get 20% off this course with a discount code. The contents of this course include:
Introducing After Effects CS6
In this chapter you’ll get an overview of how After Effects works, what it does, and what the main controls are.
Interface Tour
Before you start following along with the instructions in this training, it will help to learn what the controls are called and where things are located. You’ll learn about the basic controls and the most commonly used panels in this chapter.
Creating Compositions and Layers
In After Effects we work in projects. Every project contains compositions, each of which is the framework of a movie; layers are assembled within the framework of these compositions. In this chapter you’ll learn how to create compositions and bring layers into them from the Project panel. You’ll also learn how to create layers from scratch.
Importing Footage
In this chapter you’ll learn how to bring various types of files into After Effects. You’ll also see how to make sure After Effects interprets these files correctly and how to manage them once you get them in.
Interpreting and Managing Footage
Sometimes you need to tell After Effects how to use source files. This chapter shows you how to set various parameters for how files are interpreted and used.
Animation Basics
The most important aspect of learning to fully understand After Effects is getting to grips with how After Effects handles animation. Once you have mastered the topics covered in this chapter, you can really do anything in this powerful application.
Fine-Tuning Animation
This chapter will take your animation skills further by showing you how to understand timing. You’ll learn how to work in the Layer panel and the Graph Editor for more precise control over layers and animation.
Animating Text Layers
Text layers can be animated in a variety of different ways to create exciting and compelling motion graphics. In this chapter you’ll learn about the properties and methods used to control these layers. Text layer properties use a slightly different animation system than standard layer properties, so we’ll also discuss the idiosyncrasies involved in animating these wonderfully flexible design elements.
Fun with Shape Layers
Shape layers are pretty unique but can be confusing to new users. This chapter will help demystify shape layers and give you the confidence to push them in all sorts of creative directions.
Basic Compositing
Compositing is about stacking layers on top of one another and making parts of each layer show through others in specific ways. You’ll learn about many of the ways to composite layers together in this chapter.
Effects
After Effects provides you with scores of effects that you can apply to your layers, allowing you to create virtually any look or style you like. Imagine being able to animate all of these over time and you get a real sense of the creative flexibility that After Effects can offer you. This chapter tells you everything you need to know to create amazing effects.
Time
A movie is a series of images that plays over time, and After Effects provides many powerful controls for controlling exactly how this happens. This chapter will teach you about tools like frame blending, slow motion, freeze-frame, and more.
Grouping and Linking
There are times when it makes sense to group layers together into a single item, either to simplify complicated comps or to make editing, moving, or applying effects a whole lot easier. In this chapter we’ll look at several methods for grouping layers together.
Introduction to 3D
After Effects allows you to transform and animate your layers within a 3D environment. This adds some complexity to your compositions. After Effects CS6 also lets you work in ray-traced 3D, where you can extrude and bevel shapes and text and even bend video layers. In this chapter you’ll see how After Effects deals with mixing 2D and 3D in the same composition.
Memory and Performance
Every person, project, and computer system is different. In this chapter you’ll learn how to configure After Effects to match your needs, the capabilities of your computer system, and the needs of your projects.
Render Order and Collapsing Transformations
Layers and their components are processed in a specific order. In this chapter you’ll learn about that order and how to use special features to control it
Output Options
When you’re finished with your project, you need to get your data out of After Effects, usually as a finished movie. In this chapter, you’ll learn the basics of rendering and exporting movies.
Project Explorations and Recap
This chapter contains some examples of animations created in After Effects along with explanations of how they were made. You’ll also get some tips on integrating After Effects with Cinema 4D, as well as some final thoughts on the course and suggestions for further learning.
The lessons are wrapped in a feature-rich interface that lets you jump to any topic and bookmark individual sections for later review. Full-Screen mode provides a hi-def, immersive experience, and Watch-and-Work mode shrinks the video into a small window so you can play the videos alongside your application. Also included are exercise files that give you an easy way to try out the techniques you learn and a 48-page guide containing supplemental material.
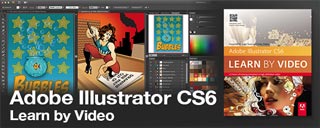
I’m very pleased to announce that my new workshop – Adobe Illustrator CS6 – Learn by Video – is now available to buy directly from the web store on my videos page. I’m also featuring some free example movies from this workshop right here so you can try before you buy.
Newsletter subscribers can also benefit from a 20% discount code off the price of the entire workshop so if you haven’t already subscribed you can do so now to take advantage of this and other special offers only available to my subscribers.
This Learn by Video course offers in-depth training on the interface, workflow, and features of Adobe Illustrator CS6. Amongst other things you’ll learn my own techniques for drawing characters including my “Illustrator” superhero. Here’s the intro movie where I tell you more about the course.
The contents of this course include:
Introducing Illustrator CS6
In this chapter you’ll be introduced to Adobe Illustrator — what it is and what it does — and get an overview of what will be covered in this course. You’ll also be taken on a tour of the new features in Illustrator CS6.
Illustrator Fundamentals
This chapter explores two concepts that are crucial to an understanding of how Illustrator works: the difference between bitmap (or raster) images and vector images, and the concept of paths.
Exploring the Illustrator Interface
In this chapter you’ll learn how to work with important elements of the Illustrator interface like panels, the Application bar and frame, artboards, and workspaces.
Navigating and Using Views in Illustrator
Being able to easily move around your documents and see them in different ways can be a big help in your work. This chapter will explain how to navigate in Illustrator CS6 and use the different viewing and screen modes.
Working with Documents
This chapter shows you how to efficiently create, modify, and view documents. You’ll learn how to use templates, guides, grids, Adobe Bridge, and more.
Creating and Working with Shapes
Shapes are a very important part of Illustrator, and in this chapter you’ll learn about the various tools available for creating and modifying shapes.
Transformations
You can transform objects in a variety of different ways in Illustrator CS6. This chapter shows you the various methods that can be used to transform and modify objects, including how to use the Transform panel.
Understanding Objects and Layers
This chapter shows you how to select and modify objects in Illustrator CS6 and explores the multitude of options you can use to create artwork. We’ll look at saving selections, grouping items, layers and stacking order, and Isolation mode.
Drawing
Drawing is at the heart of the work you’ll do in Illustrator. In this chapter you’ll learn all about the tools, techniques, and features related to drawing in Illustrator CS6.
Using Symbols
Symbols are a handy feature in Illustrator, and in this chapter you’ll learn how to create them, move and rotate them, adjust their size and color, and apply graphic styles.
Color
Color makes a big difference to the appearance of your artwork. In this chapter you’ll learn how to work with color-related features in Illustrator like the Colors panel, swatches, gradients, Live Paint, and more.
Typography
In this chapter you’ll learn how to add text to your documents, format that text, create styles, and more.
Working with Images
In this chapter, you’ll learn how to place graphics and see all the tools Illustrator offers once they are there to help you get great results in your designs.
Working with Effects
With effects, you can apply a look to a path that doesn’t alter the path at all. It will print like what you see on your monitor, but in reality, it’s all just an illusion…a very powerful, editable, printable illusion that can be saved as a PDF, placed in Photoshop and InDesign, and more. You’ll learn all about this incredible technology in this chapter.
Graphs
If you have information you want to convey as a graph or chart, Illustrator has the tool. The chart and graph tools in Illustrator aren’t new, but they are very powerful and allow you to present data in a more interesting way, as you’ll see in this chapter.
Beyond Illustrator
Eventually there will come a time when you want to save your Illustrator work as a PDF or in one of the common web file formats, or output it for use in an animation. The videos in this chapter will show you how.
Project Explorations
In this chapter you’ll apply the skills you’ve learned in this course to some projects that give you an idea of just what Illustrator is capable of.
Closing Thoughts
In this chapter you’ll get a brief recap of what’s been covered in the course and a few final thoughts from the author.
The lessons are wrapped in a feature-rich interface that lets you jump to any topic and bookmark individual sections for later review. Full-Screen mode provides a hi-def, immersive experience, and Watch-and-Work mode shrinks the video into a small window so you can play the videos alongside your application. Also included are exercise files that give you an easy way to try out the techniques you learn and a 48-page guide containing supplemental material.
Well, it’s finally been announced and I can talk about it, my After Effects CS6 new feature highlights. My dear friends at Adobe have once again pulled it off and produced a great update to my favorite software application – After Effects CS6! Rather than bombard you with loads of text I’ve created a movie to highlight my favorite new features, you can watch that movie here.
If you want more information about After Effects CS6 features not covered here Todd Kopriva has produced two great free training workshops in conjunction with the lovely people at video2brain.
There’s also a fantastic new version of Premiere Pro on the horizon. If you want to find out about the new features, check out Todd’s two hours of free training movies here.
As a special Easter treat I’ve created a set of free, chocolate flavored After Effects presets for the readers of my blog and newsletter, I hope you enjoy them. Here’s a little taster of what’s included in the pack. The download link is available here Angie_Taylor_Easter_Presets .
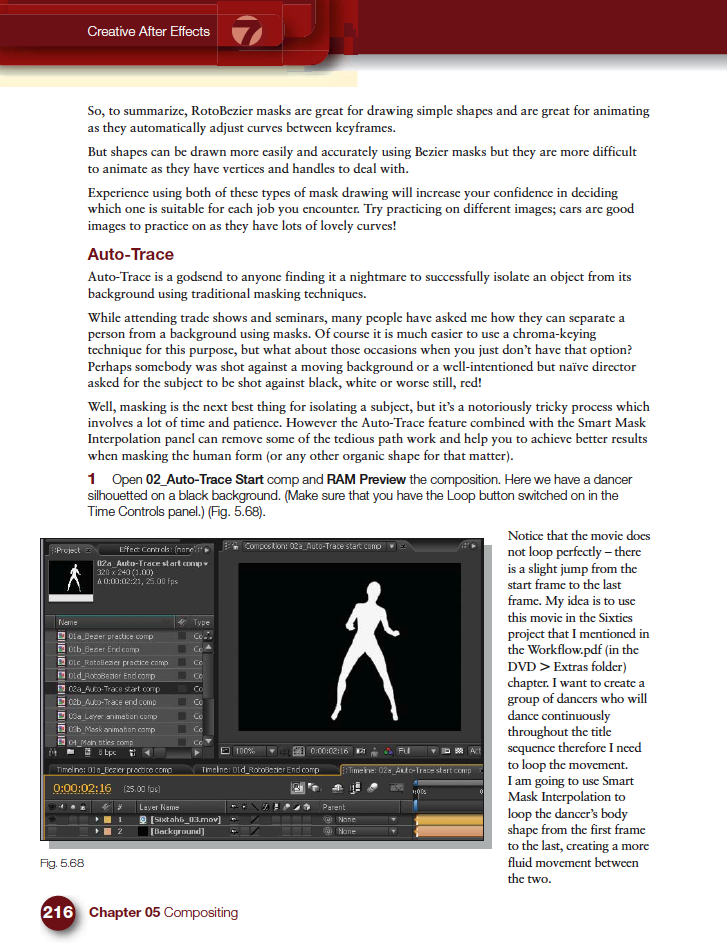
Masking is one of the features of After Effects that I get asked about the most during my After Effects training courses. People seem to have lots of problems animating masks in After Effects and I’ve noticed a few forum questions about it recently so I thought I’d provide some quick mask interpolation tips and links here for you today.
In one of my previous newsletter (you can subscribe here) we looked at how you can adjust the first vertex of a mask to help control the animation.
Here’s an excerpt from my Creative After Effects book that shows how to use Auto- Trace and Smart Mask Interpolation to help animate complicated Mask shapes.
Check out our subscription offers for free access to all Jeff’s courses plus mine and all the other trainers at video2brain.
And here are additional tips that can help you when animating masks.
Remember that you can apply motion blur to a masked layer, at a low setting this will also add a little more smoothness to the interpolation.
When animating anything in After Effects, but particularly mask shapes, it pays to always start by setting the extreme points of the animation. For example, if your animation is 10-second long, set a keyframe at the very beginning and another at 10 seconds. Then go in between to 5 seconds and make any necessary changes. Once this is done, go to 2.5 seconds, set a keyframe there, then to 7.5 seconds and set another there. Continue positioning the Timemarker half-way in between the pairs of keyframes to set new ones until no other changes are necessary. Using this method will ensure that you add the least amount of keyframes necessary for the animation, the fewer keyframes, the less work it is to edit!
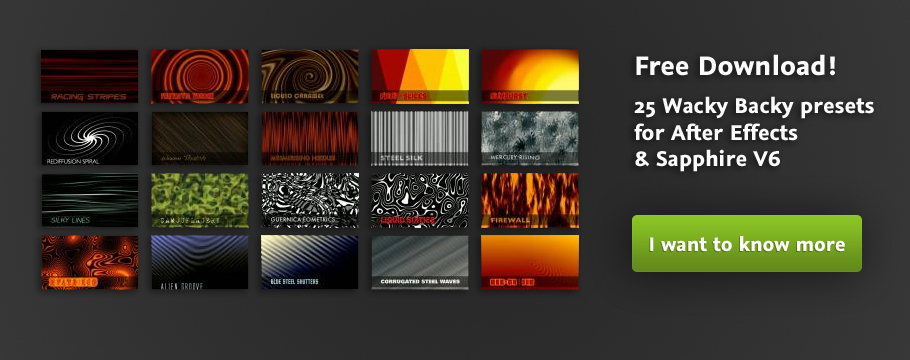
“Wacky Backy” is my free After Effects preset collection for Sapphire V6. It is now freely available to download from Genarts FX Central. These animated backgrounds have a slightly wacky quality and can be used freely in your own creative projects.
Use them as they come or as a starting point for your own presets – you could try using the Brainstorm tool on properties to come up your own variations – it’s addictive! Subscribers to my video training can watch a movie on Brainstorming in After Effects free here. If you’re not already subscribed, here’s a link to join us. For as little as $12.99 per month you can have free access to all of the training on my website plus all the other training by other authors at video2brain.
If you’re not already a member of FX Central it’s free and easy to join. Then you can download as many presets as you like. If you want to try out my presets on Sapphire for After Effects you can download a trial version of the software here. Find out more about the amazing software that Genarts has to offer and customer stories here on their website
These dynamic presets can be used for backgrounds, displacement maps or organic elements in your project.
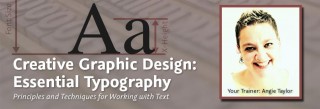
Making good decisions is essential in typography — choosing the right typefaces, fonts, sizes, spacing and so on — can have a major impact on the quality of your designs. In this one-of-a-kind workshop, art director, illustrator, and motion graphic designer Angie Taylor introduces you to the essential principles of typography.
After exploring the terminology, history, and anatomy of traditional and computer-based fonts, she brings you all the way up to the present day by looking at how text is formatted in today’s creative applications.
You’ll also learn specific software techniques for creating your own lettering from hand-drawn text, animating text on a path, using operators and effects to customize existing fonts, working with 3D text, and more.
This workshop covers many aspects of typography, from its history and terminology to how it is handled by modern software. The contents of this course include:
Introduction
The Introduction chapter sets the stage for the whole course. Your trainer, Angie Taylor, will introduce some of the typographic concepts that will be covered in the following lessons. She’ll also share the story of what inspired her to become a graphic designer.
The Essence of Typography
This chapter examines the fundamentals of typography, looking at the history of type and how it influences the terminology we use to describe the anatomy of type.
Typefaces
This chapter focuses on typefaces. It begins by examining the categories of typefaces and then compares some examples from each of the categories so that you are better able to recognize the differences between them. You’ll also discover how certain characteristics and cultural associations can influence the meaning of a particular typeface.
Fonts
Typefaces usually include several fonts with different weights and characteristics. In this chapter you’ll learn about these and the differences and similarities in size, weight, line, and detail that you should be aware of when choosing fonts. We’ll also look at special characters that are included in fonts, such as ligatures.
Spacing
The space between letters, words, and lines of text is just as important as the characters themselves. In this chapter we’ll start thinking of negative space as a shape and look at ways of adjusting this space to balance text correctly.
Formatting Text in Adobe Applications
Most Adobe design and video applications have similar typographic controls. In this chapter we’ll look at the different tools that are available for editing your text and apply some of the concepts we’ve discussed in earlier chapters.
Working with Type in Photoshop
This chapter focuses on the (somewhat limited) text features available Adobe Photoshop. You’ll also learn about some complementary features like layer styles that you can use to personalize your design and add pizzazz to your text.
Working with Type in Illustrator
Illustrator is Angie’s favorite application for designing text, and here’s why. In this chapter you’ll get a ton of creative tips on ways to take a standard, classic font like Helvetica and customize it to get a variety of different looks.
Motion Graphics in Adobe After Effects
In this chapter we’ll focus on creating text for your motion graphic designs. You’ll see how After Effects handles text imported from Photoshop, how to make text move along a specified path, and how to apply effects. We’ll also look at the multitude of text animation presets that you can apply to your text.
The lessons are wrapped in a feature-rich interface that lets you jump to any topic and bookmark individual sections for later review. Full-Screen mode provides a hi-def, immersive experience, and Watch-and-Work mode shrinks the video into a small window so you can play the videos alongside your application. Also included are exercise files that give you an easy way to try out the techniques you learn.
As you may know I have a video store on my page where you can watch some of my training videos completely free of charge with new upgraded video streaming.
If you like them you can buy entire workshops or sign up for a subscription via this introductory pricing offer. With a subscription you can get access to the entire video2brain library of courses from me and other trainers.
You can check out some of the other trainers profiles here. there’s some phenomenal talent at video2brain, that’s why I love working with them. It’s so inspiring to work amongst a team of people with such a vast selection of skills.
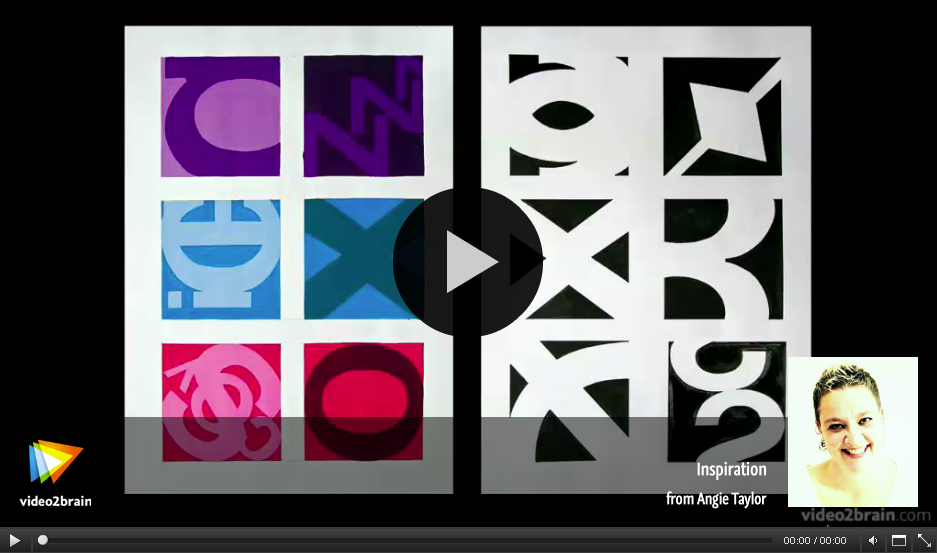
We rolled out some major upgrades to our streaming video servers today. More details will be coming soon, but for now, give our new and improved online experience a spin with this free lesson from my Essential Typography course, on the subject of inspiration. For the most immersive result, be sure to click Full-Screen Mode in the lower-right corner of the player.
Well another year almost over. I’m looking forward to 2012, hoping that it’s a better year for our industry and for all my friends. I have a couple of exciting bits of news to share and more free downloads so here’s my final blog for the year.
Mark Coleran, a good friend of mine and an extremely talented designer is giving away the entire LayerLab collection of After Effects template projects free. Layerlab was a resource for After Effects designers that Mark worked on a few years back. The project was put on hold while Mark pursued other career options. He’s now made a very kind gesture of giving these projects away for free. You can also check out Mark’s blog and portfolio here.
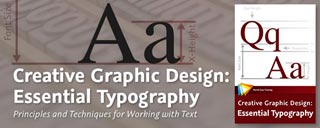
I have a new workshop out in time for the new year. Creative Graphic Design: Essential Typography – Principles and Techniques for Working with Text is a workshop with a difference. Making good decisions in typography — choosing the right typefaces, fonts, sizes, spacing and so on — can have a major impact on the quality of your designs. In this one-of-a-kind workshop I introduce you to the essential principles of typography.
After exploring the terminology, history, and anatomy of traditional and computer-based fonts, I take you all the way up to the present day by looking at how text is formatted in today’s creative applications. You’ll also learn specific software techniques for creating your own lettering from hand-drawn text, animating text on a path, using operators and effects to customize existing fonts, working with 3D text, and more.
There are several free movies you can check out here. If you like what you see, here’s a special discount code for you if you’re interested in buying this course; Coupon Code: ETYP20 Discount: 20% Expires After: 29-Feb. Just enter the code during checkout to get 20% off the advertised price.
In my winter sale there’s 30% off all Wacom workshops in my store.
This offer includes volumes 1, 2, 3 & the Master Collection. To find out more you can read about them here and then check out the courses here and even watch some free preview movies to get a taster of what’s on offer. (Any links highlighted in black are free to watch.) If you decide to buy then just use the Coupon Code WACOM30 when checking out from my video store for 30% off any of the four Wacom courses or the entire Master Collection.
This offer is good through to the end of 2011. With all video2brain courses you now have the option to have them delivered to you on DVD. At the checkout you now have a checkbox option to add a disc for just $6.99 (this price includes manufacturing and shipping costs.)
The folks at video2brain are making last-minute gift buying easy for us! From now through the end of the month, any courses or subscriptions that you buy will come with a special code you can use to share that same training with a friend for free.
After you make your purchase, we’ll send you a PDF that includes a unique activation code that’s good through January 15th.
Send that PDF to your friend.
When they go to http://video2brain.com/en/code and enter their code, they can log in to video2brain or create a new video2brain account and have their new training added to their account on the spot.
So spend less time shopping this year, save on wrapping paper, and give the gift of video2brain.
Happy holidays and have a great New Year,
-from me and your friends at video2brain