Using the Picture Viewer in CINEMA 4D
from Up and Running with CINEMA 4D Lite for After Effects
from Up and Running with CINEMA 4D Lite for After Effects
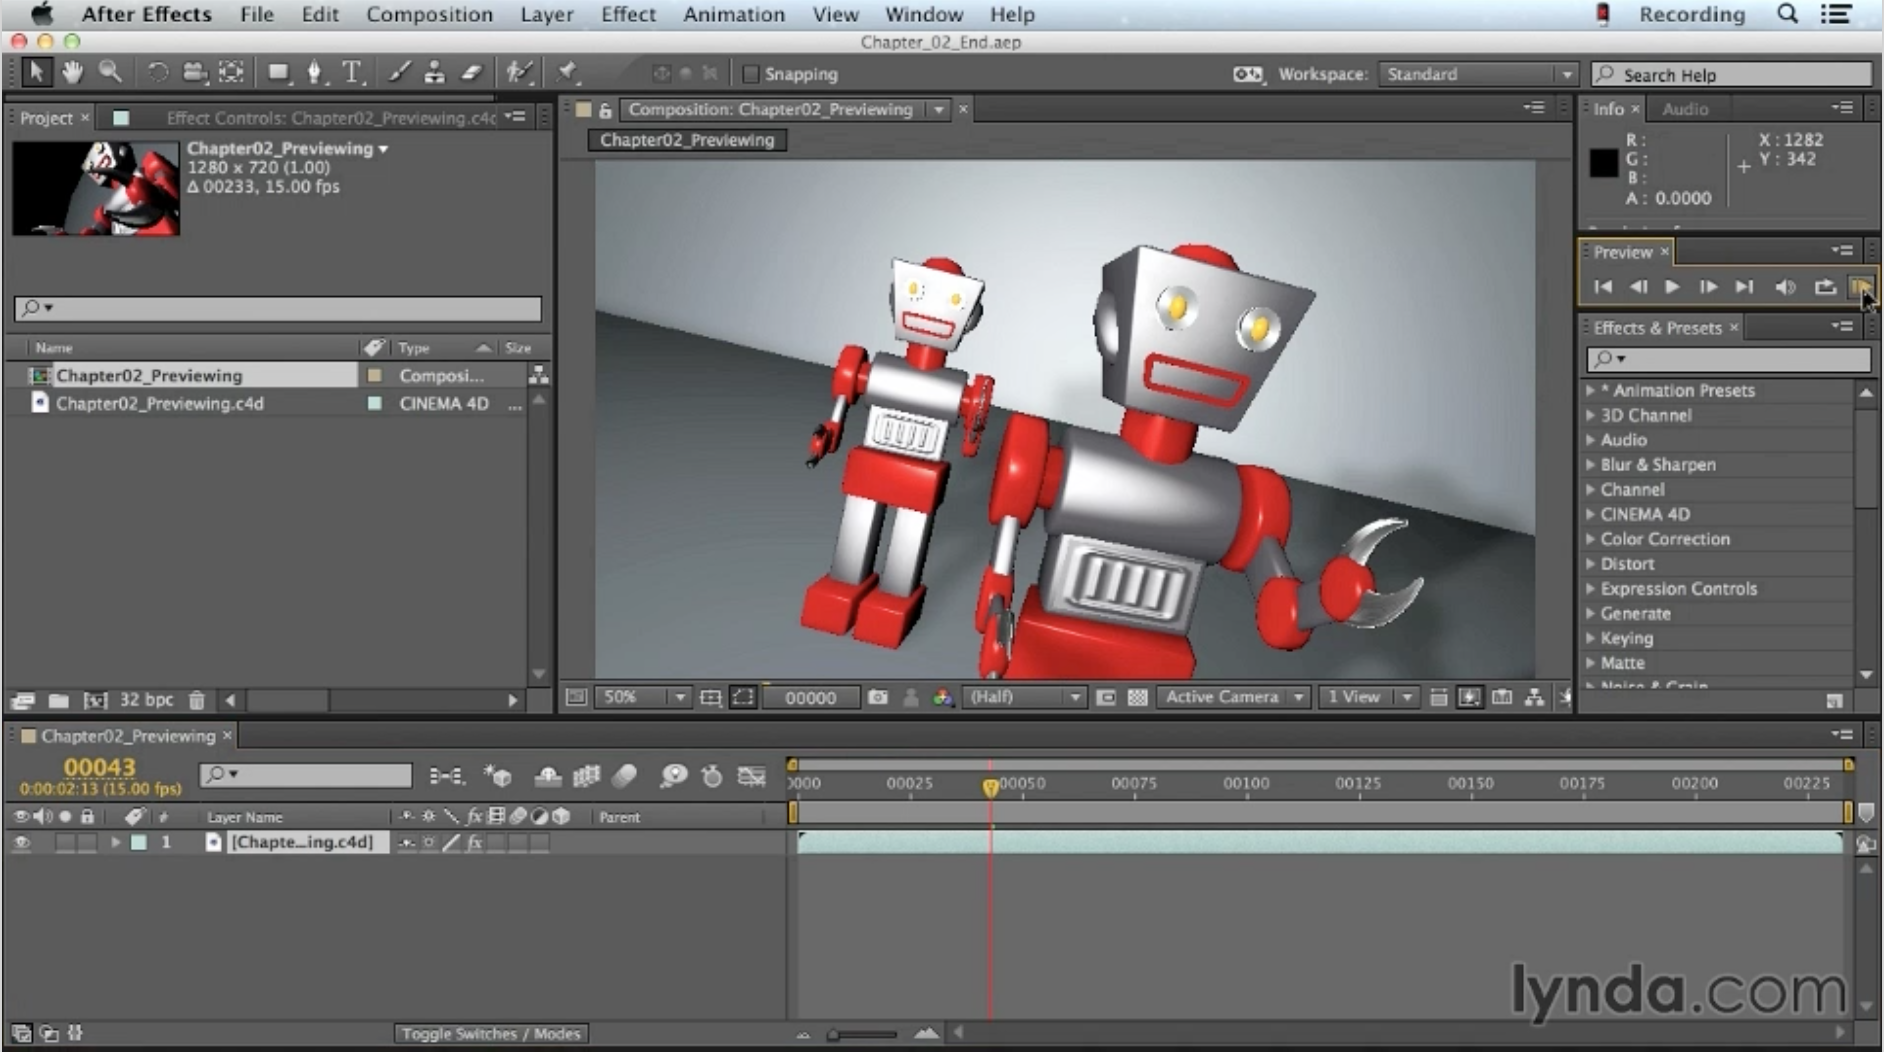
Intimidated by 3D modeling packages? Dip a toe in the water with CINEMA 4D (C4D) Lite, a slimmed down version of CINEMA 4D included with After Effects CC. Motion graphics designer Angie Taylor shows you how to build a complete sequence in C4D Lite, progressing from initial object modeling, to animation, lighting, camera rigging, texturing, and final render. Plus, learn to animate text, create random movement with wiggle expressions, track cameras in live-action footage to add new 3D elements, and light your scene. Angie also round-trips the project files to After Effects for visual effects and color correction. With over 100 videos, this course allows you to explore almost every aspect of 3D motion graphics creation, within this accessible introductory tool.
Topics include:

 I’m so excited to announce my new course, Getting started with After Effects Expressions which came out on the 20th of February. Even if you’re not comfortable with scripting or coding, you may still want to take a look at After Effects expressions.
Expressions are like little scripts that trigger changes to layer properties, and they can save you time, make your work more flexible, and open up new creative possibilities. In this course, motion graphic designer Angie Taylor shows you how to make Adobe After Effects expressions work for you, starting with building expressions with the pick whip. Then she introduces JavaScript-based math expressions, which allow you to adjust timing and movement, and her favorite “no brainer” expressions, such as property linking and connecting camera focus to layers. Plus, discover how to react to sound, play with color, format text, and link 2D and 3D properties.
For those of you who have never tried out lynda.com training here’s access to a 7 day trial subscription. With this you can watch my entire training course as well as any other lynda.com titles by me and other authors, completely free of charge!
 I’m really happy to have been invited to speak at the Post Production World Conference at NAB 2014 in Las Vegas this year. You can find details about all of my sessions here.

Vimeo have just announced access to their new Looks Enhancer so you can enhance Vimeo videos instantly with professionally designed video effects based on industry standard effects.
Vivoom is the core technology behind Vimeo’s enhancer, you can find out more about it here.
I worked on this project as creative director, designing presets for Vivoom with a great team of international designers – I hope you like what we came up with. You can now apply visual effects by me and other artists, directly to your videos in Vimeo. It’s a bit of fun and no substitute for using effects in purpose-built applications but it uses the same technology as used by major visual effects studios – there’s lot of power under the hood! You can try these new looks out free on your videos for the next 30 days.

This offer includes volumes 1, 2, 3 & the Master Collection. To find out more you can read about them here and then check out the courses here and even watch some free preview movies to get a taster of what’s on offer. (Any links highlighted in black are free to watch.) If you decide to buy then just use the Coupon Code WACOM30 when checking out from my video store for 30% off any of the four Wacom courses or the entire Master Collection.
This offer is good through to the end of 2011. With all video2brain courses you now have the option to have them delivered to you on DVD. At the checkout you now have a checkbox option to add a disc for just $6.99 (this price includes manufacturing and shipping costs.)
Share training with a friend
The folks at video2brain are making last-minute gift buying easy for us! From now through the end of the month, any courses or subscriptions that you buy will come with a special code you can use to share that same training with a friend for free.
So spend less time shopping this year, save on wrapping paper, and give the gift of video2brain.
Happy holidays and have a great New Year,
-from me and your friends at video2brain
 I’ve just finished recording my latest workshop with the fantastic team at video2brain. It’s a workshop with a difference.
If you want the salient points delivered to you quickly so you can get on with your work, this product is perfect for you. It’s a series of short videos that form an educational and enjoyable workshop that you can sit back and enjoy – imbibing my knowledge as you go!
It’s based upon the Typography chapter from my book, Design Essentials for the Motion Media Artist. Not everyone likes to read books or needs the level of detail covered in Design Essentials so this provides an alternative.
It provides a quick-reference guide in the format of a video presentation. All the essential key principles of Typography that every designer needs are covered. And it won’t bog you down with too much detail (that’s what the book is for right?) it’s fast-paced and illustrated throughout with helpful animated diagrams and examples of work.
Learn about the history and anatomy of type as well as the terminology used to describe the components of text. Discover the difference between typefaces and fonts, glyphs and characters, serifs and sans serifs, kerning and tracking, leading and baseline shift. Find out when and why you would use specific fonts based on aesthetics, cultural associations and characteristics.

This workshop expands on the content of the book with additional software exercises to improve your typographic software skills. You’ll learn how to apply the principles of typography in practical ways to graphic design projects. Software exercises will show you how Adobe’s Character and Paragraph panels can help make the most of your text, creating unique and exciting effects.

I’ll also teach you lots of neat tricks like animating text along paths in After Effects and making text write on the screen. In Illustrator we’ll use operators to customize lettering, giving it a hand drawn look,. We’ll create 3D Text in Photoshop and add Layer Styles to brighten up our graphic designs. In InDesign you’ll make the most of its powerful Open Type features such as ligatures, glyphs and other special characters.

With this comprehensive typography video training workshop you can simply sit back and watch as I present the principles for you. If you feel like following along, all the exercise files are provided. The videos are short and easily digested and you won’t get bogged down with technical jargon as I explain difficult concepts using easy-to-understand, real-world terminology.
If you’d like to be notifies when this title becomes available please click on this link.
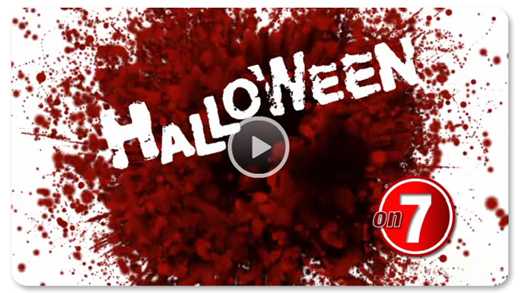


I’ve just uploaded a new preset to Red Giant People. It’s my first foray into creating presets and projects as opposed to tutorials. If they prove popular I’ll create more for Halloween! I’m also going to be creating some presets for Genarts FX Central so keep and eye out for those before Christmas! I love coming up with ideas so if you have anything you’d like to see please feel free to contact me via the comments page.
This preset features a complete After Effects Project containing a graphic design idea for a TV Ident. It features a graphic, stylised blood splat made with Trapcode Particular. The blood particles use a light emmitter and bounce against a layer used as a Wall. The blood “bleeds” around the text to reveal it and then another text layer animated on along a lower third strip with Logo.
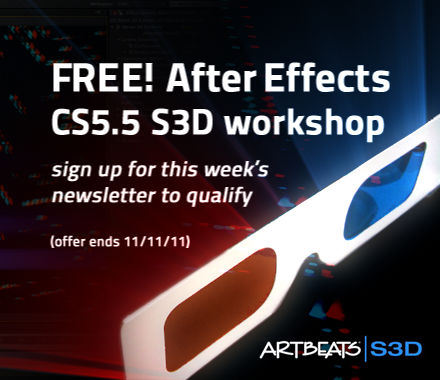

In this week’s newsletter I’ll be giving away a complete workshop about using the Stereoscopic 3D workflow in After Effects CS5.5 (offer ends 26/09/11). That’s four chapters – a total of 16 training movies absolutely free to subscribers of my software tips and tricks newsletter. Sign up today to make sure you don’t miss out. The lovely people at video2brain have created this workshop for me if full, fabulous HD quality for your viewing pleasure. You can find out more about their high quality productions here. Any the wonderful team at Artbeats have donated some fantastic Stereo 3D footage absolutely free so you can build this opening title graphic sequence is glorious Stereoscopic 3D.
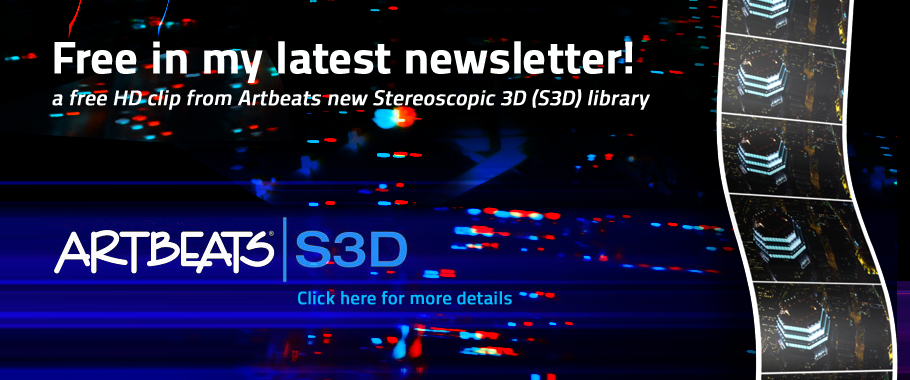

Artbeats, your source for royalty-free stock footage, is offering everyone a free HD clip from their new Stereoscopic 3D (S3D) library. If you’ve been wanting to try your hand at working in 3D motion, this free download is the perfect opportunity to test it out.
For those of you who are not ready for 3D, you can download the same clip in 2D for use in your everyday high def projects.
(Offer closes 11/11/11)
Learn more about Artbeats S3D footage here

I’m excited to be able to offer a free top-up course on my website to all my lovely visitors. In this free course, Adobe Technical Support Lead Todd Kopriva offers dozens of tips for optimizing Premiere Pro, After Effects, your operating system, your computer, and your workflow for maximum speed and performance.
He makes recommendations for RAM, CPUs, graphics cards, and hard disks – both what to buy and how to set up your applications to make optimal use of these resources – and for setting preferences and other options in After Effects and Premiere Pro to minimize the amount of processing needed at each step of your workflow.
You’ll also learn what CUDA, OpenGL, and the Mercury Playback Engine are, and what each means to you in practical terms. After completing this workshop you’ll get more done in less time, both by making things work faster and by avoiding common causes of wasted time.
