Category: Blogroll
-
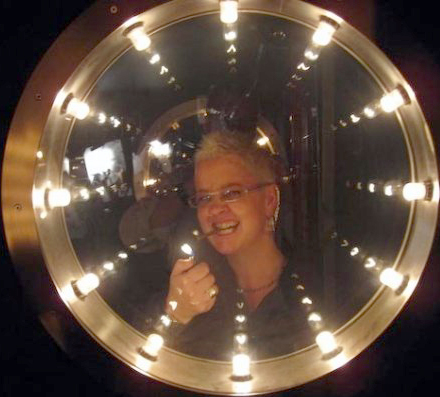
Life of a demo-dolly
I went to Amsterdam earlier this month, with the Gridiron gang, to attendIBC 2009. I had several meetings to attend, demo’s to do and an interview or two to give. So I packed my suitcase with all my usual accoutrements, everything I would need for a business trip in a distant land! I get especially…
-
Two worlds collide
I’ve had many careers in my lifetime, one of them being a deejay in the 1990s London club scene. I regularly deejayed at clubs like FF at Turnmills, Mix it at Heaven, The Fridge, The legendaryBell in Kings Cross, and the good old Market Tavern. I gave it all up in about 1993 to follow…
-
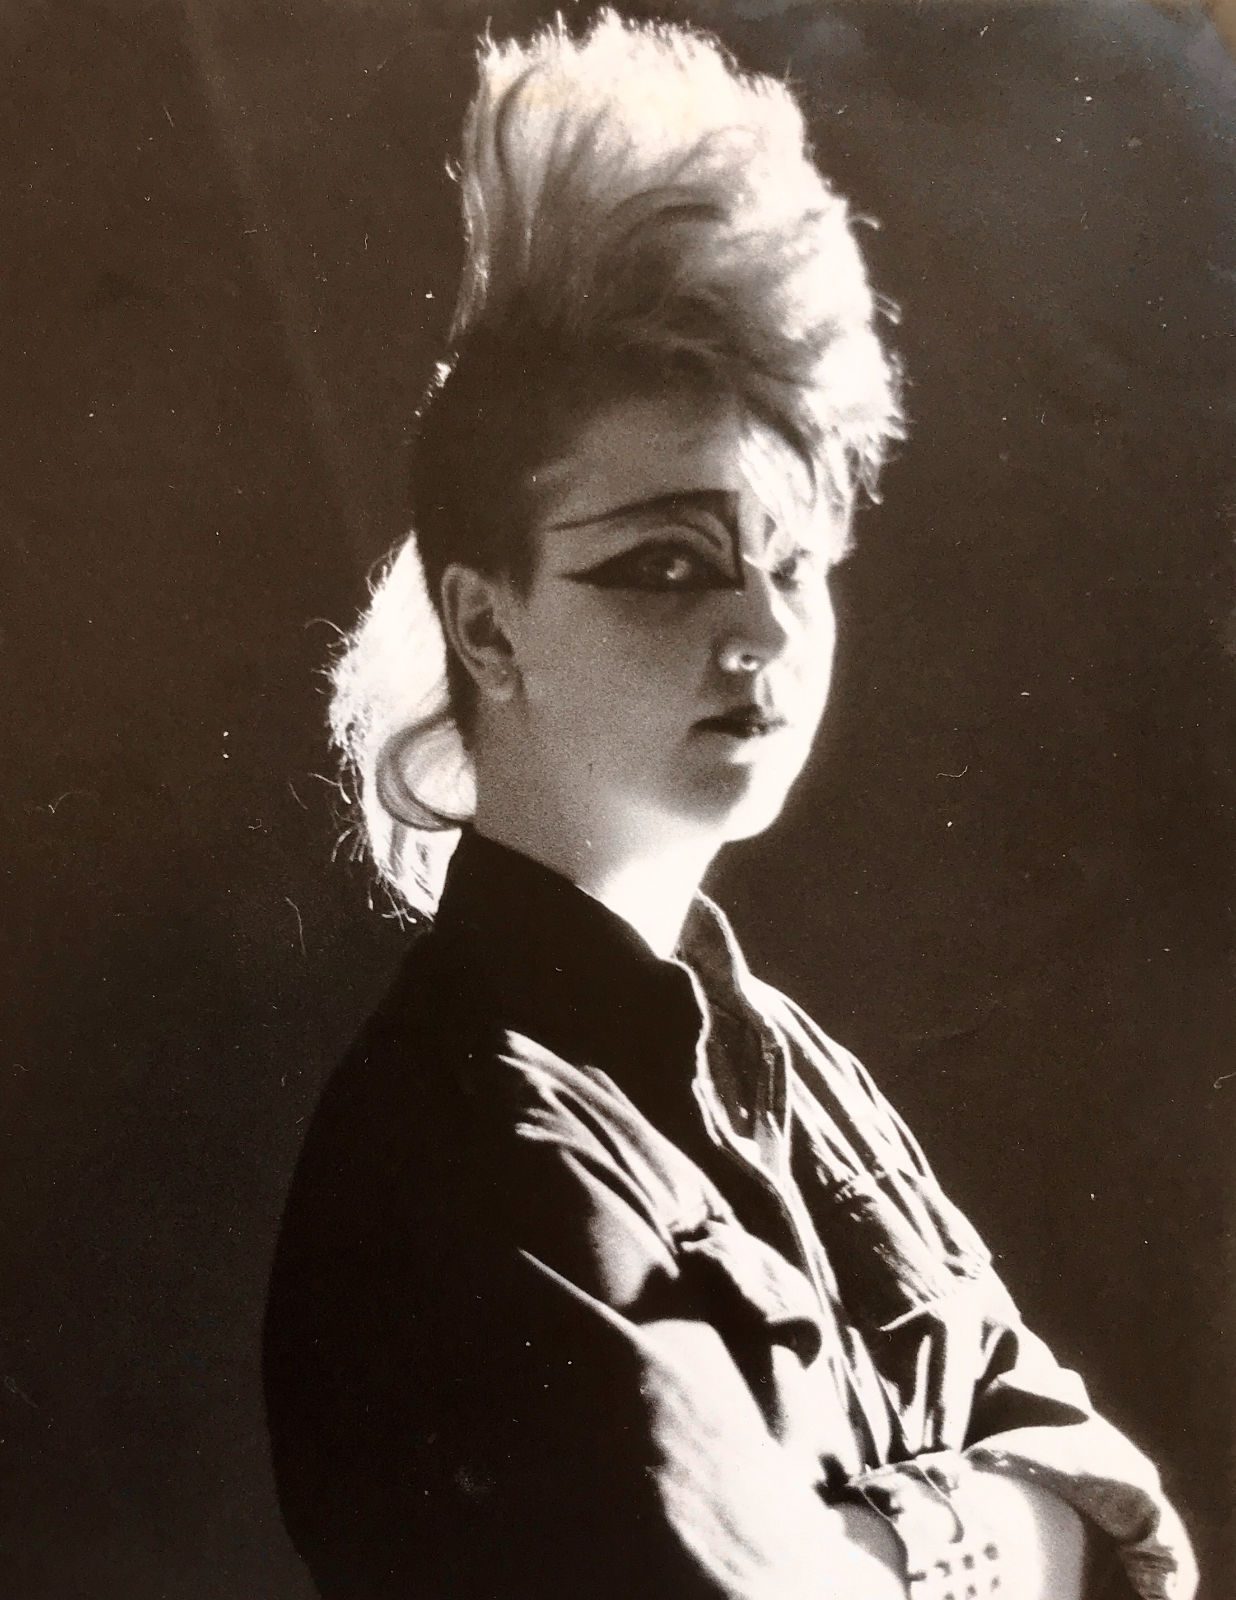
The influence of Punk 01
Before the punk scene things had become very sterile and safe. Politically, the UK was in a mess with regular strikes and power cuts disrupting everyday life. The music scene was drowning in boring “prog rock” and endless, indulgent guitar solos. Something had to give!
-
Adobe Seminar Stockholm and Copenhagen
Well, I’m just back from a whirlwind tour of Scandinavia. I did a talk in each city on adobe’s production Premium software. The crowds were very nice and friendly and I’m hoping to go back there soon. Thanks to Max Hagelstam for his wonderful organisation. And thanks to Pierre and Jonas for sharing lunch with…
-
Angie Taylor tutorials coming soon!
Watch this space! Watch this space for tutorials from me, Angie Taylor. I am a freelance animator/ designer who has been using creative software in my work for over 10 years. I have also worked as one of Adobe’s leading freelance demo artists and can be seen regularly at trade shows, conferences and events, talking…